How to Draw Toast with this how-to video and step-by-step drawing instructions. Easy food drawing tutorial for beginners and kids
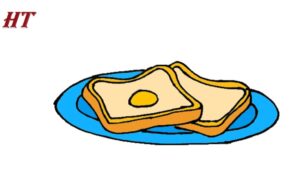
Please see the drawing tutorial in the video below
You can refer to the simple step-by-step drawing guide below
Step 1. First, sketch the toast
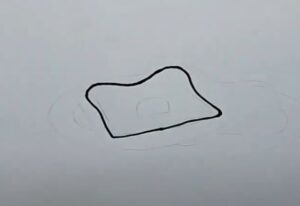
First, sketch the toast by creating a rectangle with ridges at the corners.
Step 2. Now, draw the crust
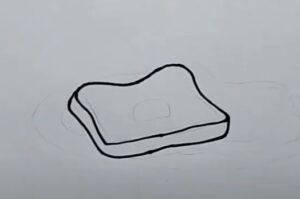
Now, create the visible side of the crust by drawing lines as shown.
Step 3. Sketch the other toast
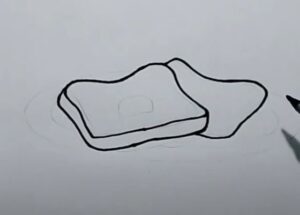
Sketch the other toast by creating a rectangle with ridges at the corners. Don’t forget to erase any overlapping parts with the first piece of toast.
Step 4. Next, draw the crust
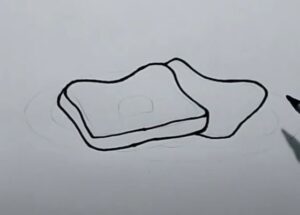
Next, draw the toast crust by creating lines as shown.
Step 5. Draw the butter
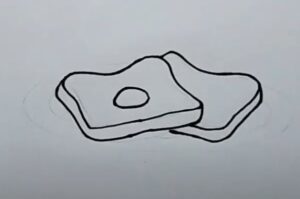
Draw some butter on top of the toast by creating a rectangle.
Step 6. Add details to the toast
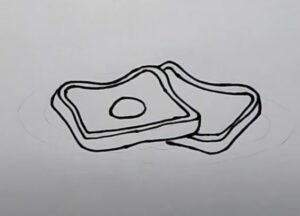
Add some details by creating lines following the shape of the toast.
Step 7. Draw the plate
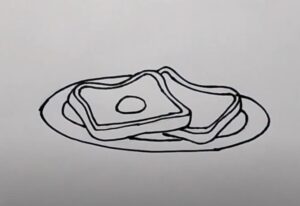
Draw the plate by creating an oval. Add details to the plate by drawing another oval inside.
Step 8. Finishing the Toast Drawing

Finally, let’s finish the toast drawing by adding some color. First, use a light orange to color the sliced toast. Next, color the crust with brown and orange. Then, color the butter with yellow. Finally, color the plate with blue.


1