How to Draw Cheesecake with this how-to video and step by step drawing instructions. Sharpen a pencil and follow along with these basic 5 drawing steps. You’ll learn the fundamentals for drawing cheesecake.
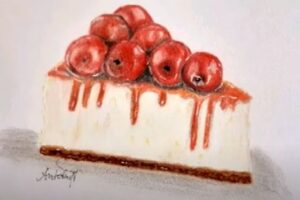
Please see the drawing tutorial in the video below
You can refer to the simple step by step drawing guide below
Step 1. First Add cherries
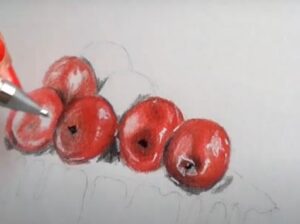
Draw the top of the fruit by drawing circles on top of the cheesecake. I chose to paint the cherry but feel free to paint the top layer however you like.
Step 2. Attach the shell
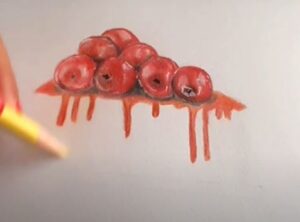
Attach the cheesecake crust by drawing a bumpy line at the top. Then, stretch this line to the sides and bottom of the cheesecake.
Step 3. Draw the side of the cheesecake
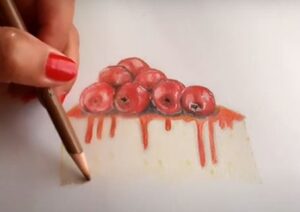
Next, draw the edges by creating a U-shaped line as shown. Then add the syrup dripping from the top by drawing irregular wavy lines.
Step 4. Draw the bottom of the cheese
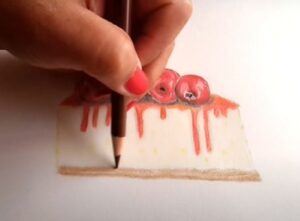
Paint the bottom with a thin layer of a darker brown color.
Step 5. Complete the cheesecake drawing

To complete our cheesecake drawing, let’s add a little color! First, color the cherries and sauce on top with a red pencil. Use a purple pen to add shine to the cherry. Next, color the cheesecake with a yellow marker. Then, color the crust with an orange pen. Finally, use a white pencil to color the plate.
