Please see the drawing tutorial in the video below
EASY DRAWINGS NET [Made with lot of Love]
You can refer to the simple step-by-step drawing guide below
Step 1
Draw the silhouette of the dog sitting using very light and simple lines. Do not try to draw details, because at this stage you need to accurately depict the width, height and most harmonious position of the dog on the paper. By the way, in our article on layout we talked about this in detail.
Step 2
Now outline the ears and legs. When drawing a dog, constantly compare the parts to each other. Try to work on all parts of the drawing at once using simple lines. For example, after drawing a line on the right foot, immediately draw a line on the left.
Step 3
Now go to the head section and outline the dog’s eyes, nose and mouth. Do not try to draw these details as detailed as possible. Here you need to find their exact size and place them as precisely as possible on top. You should constantly compare the details of your dog’s face with each other to avoid mistakes in symmetry.
Step 4
Now with smooth and light lines, draw the dog’s lower eyelid and the pupil inside the eye. Then outline the lower jaw, teeth and tongue. When working on parts, try to constantly move away from the drawing so you can see it in its entirety. This will help you keep the dog’s proportions right and make the facial details the size you need.
Step 5
Now use smooth and clean lines to draw the contours of the dog’s ears and neck. To give the dog a more realistic look, outline the coat on the neck with long, flowing lines. When drawing a dog, it is very important to note that you are drawing a three-dimensional object. You need to transfer the mass and weight of the dog on paper. In our articles on aerial and linear perspective, we’ve covered several ways you can do this.
Step 6
Now go to the front legs and use smooth lines to draw sharp toes and claws on them. Add the necessary hairlines at the junction of the limbs to the torso. This will make your drawing of a sitting dog look more natural and realistic. Don’t forget to draw a chest line between the front legs.
Step 7
Now go to the hind legs and do the same as with the front legs, that is, carefully draw the toes and claws on them. Use smooth lines to give the dog’s hind legs a more natural look, like in our example. To see the flaws in your sitting dog drawing, you can turn over or look in the mirror.
Step 8
Erase all construction lines from your sitting dog drawing. Using long lines, paint the texture of the fur to make your drawing of a sitting dog more realistic and massive. Alternatively, you can draw details like textures on the fur or a collar with a printed name on it.
Step 10
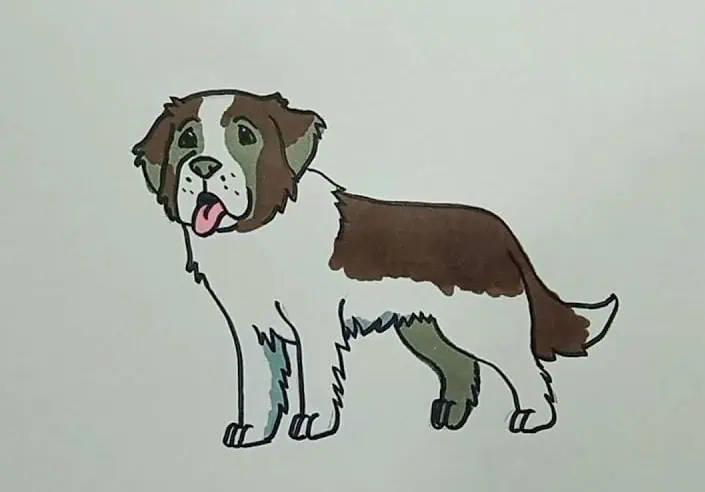
To make your drawing of a sitting dog look really three-dimensional, you need to draw shadows. Using the fill feature, start drawing the shadow smoothly, gradually moving from the darkest area to the lightest area. In our article on lights and shadows, we talked in great detail about what shadows are and how to use them to create volume in a drawing.
This is a sitting dog drawing tutorial and we hope you find it useful. If so, be sure to share this drawing lesson, write us your opinion in the comments section and subscribe to us on social networks.
Also, don’t forget that .com‘s team has created a large number of animal drawing lessons, and you can find all of them in the respective category on our website.
![How to draw a Tiger step by step [Narrated Step-by-Step Tutorial]](https://htdraw.com/wp-content/uploads/2018/04/How-to-draw-a-Tiger-step-by-step-Narrated-Step-by-Step-Tutorial.webp)