Pencil Drawing easy with this how-to video and step-by-step drawing instructions. Easy drawing tutorial for beginners and kids.
Please see the drawing tutorial in the video below
You can refer to the simple step-by-step drawing guide below
Step 1 – Draw the Outline of the Pencil
Start by drawing the outline of the pencil. Bring the sharp end to one end and round the corners at the other end (for erasers).
Step 2 – Draw the tip of the pencil
Define the pencil tip with a jagged line as shown in the example. Then do the same for the lead.
Step 3 – Draw the part that holds the eraser in place
Towards the back of the pencil, add the metal part that holds the eraser in place. You can do this by clipping a pair of lines that set its width.
Step 4 – Draw the edges of the pencil
Pencils are usually hexagonal (six-sided) to make them easier to hold. You can show this by drawing some of its edges.
Add these by projecting a pair of lines from the “teeth” of the jagged line that defines the tip to the eraser holder.
Step 5 – Finish Line Drawing
Complete the line drawing by adding smaller details of the eraser holder bit. In this case, this would just be a set of lines for each of its faces.
Once done, you can rescan your drawing with a black pen/marker or simply darken your lines with a pencil.
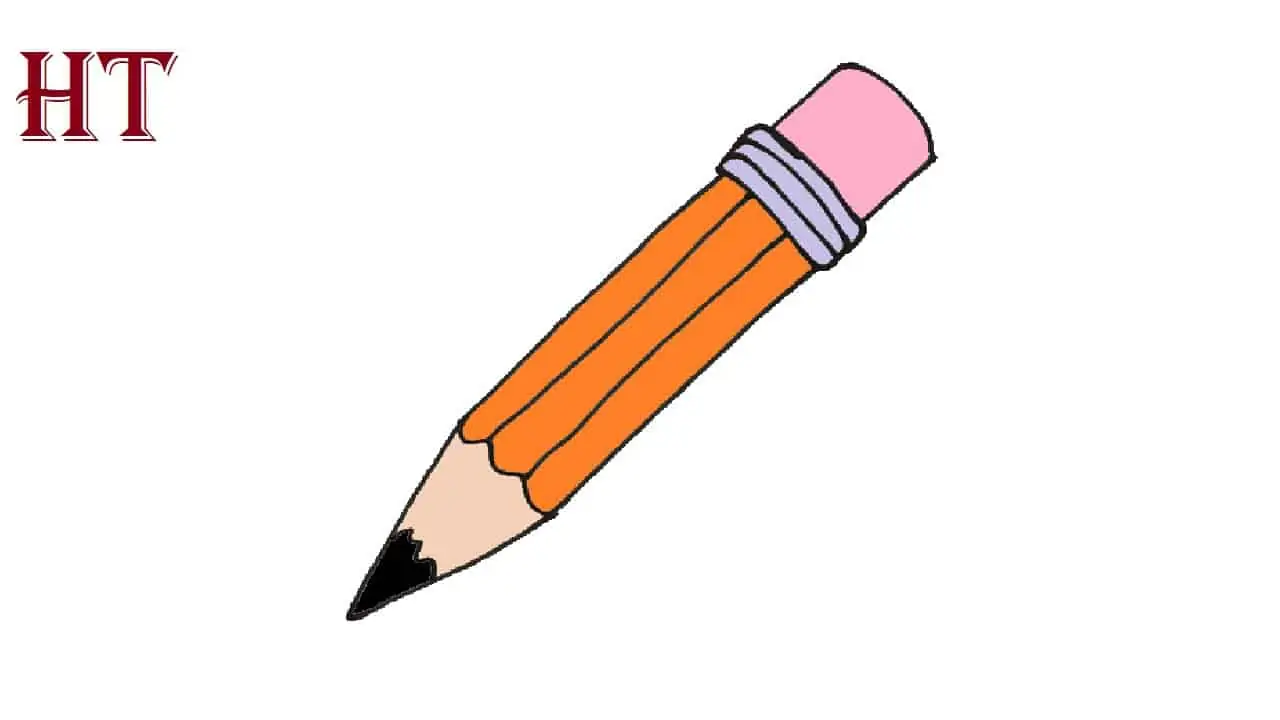
Step 6 – Color the pencil bút
To color the pencil, you can make the tip dark gray, the pencil itself orange (as is common for pencils), the metal part gray, and the eraser pink.