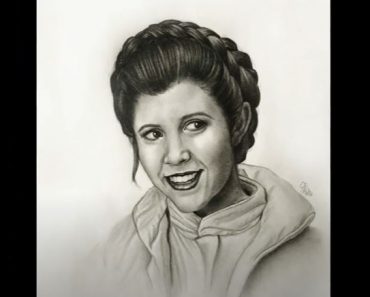
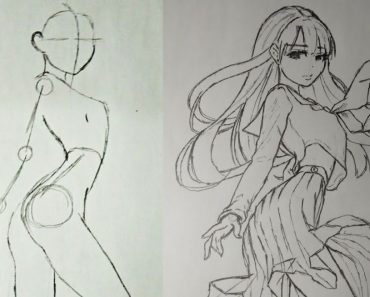
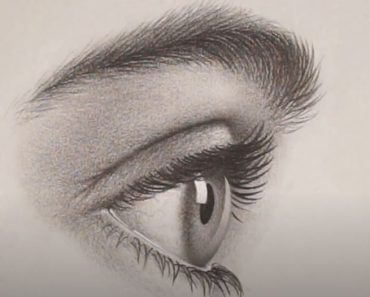
How to draw a realistic girl step by step with pencil with this how-to video and step-by-step drawing instructions. Pencil drawing easy for beginners and everyone.
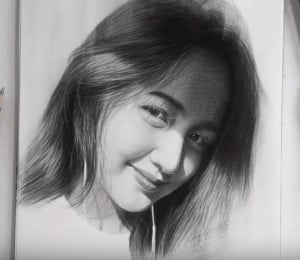
Please see the drawing tutorial in the video below
You can refer to the simple step-by-step drawing guide below
Step 1
Start by drawing an oval for the head, placing the paths for the face as shown here. This will form the basis for you to correctly balance your face.
Step 2
Now, add a few guides here for the face. Draw 5 horizontal lines (including eye line – green and black) and 1 mouth line in blue. 2 vertical rows (right and left), the eyeball is in the center of the blue line. Lines are not absolutely necessary but are preferred to keep the face in shape.
Step 3
It’s time to calculate the position of the eyes, nose and mouth. These lines are just a few pointers to know the distance between each feature.
Step 4
For the human eye position, always remember to choose a distance of 5 eyes for the face, choose the screen color as the position of the eyes, the nose (cube blue) in the middle of the eyes, the corner of the mouth below the nose. Center the ear line with the eye line (when we wear glasses) and the ear line ends with the nose line (remember it), I call it all done here like “outline the human face formula” here .
Step 5
OK, Now I start using the black line to outline the entire head, eyes, nose, ears and mouth according to the outline of the human face formula here.
Step 6
Continue the detailed outline for the eyes, nose, ears and mouth here.
Step 7
Outlining shadows for eyes, nose, ears and mouth here, you can see a realistic female face appear.
Step 8
Use a pencil and shade on the hair for a final result that is a human face. It takes time to create a good-looking face. Don’t be too hasty when starting to draw hair.
Step 9
This is another side of the female human face. I started with 2 ovals and 1 neckline here. Number 1 is the skull, which makes up most of the head. Number 2 is the space to draw faces. Number 3 is the neckline so you can match your head to your neck.
Step 10
Circle the line here for the head; add face contour, 3 angled eyes, triangle for nose, one line for mouth.
Step 11
Now outline the head line, eyes, nose, mouth. Keep your patience at ease.
Step 12
Draw details and shadows for the eyes, nose, and mouth and use different types of graphite pencils. If you have a digital program, use a custom hair brush.
Step 13
An important part of when you’re shading is determining where the light source is hitting you. In this case, it’s from the front, contrasting a lot of shadows in the middle part of the face instead of the sides. When someone smiles, they have deep wrinkles on their cheeks, lifting them out.
Step 14
Once you’re satisfied with your drawing, it’s time to erase the outline lines (if you haven’t already). I hope you had a snack from this guide! Have fun!
