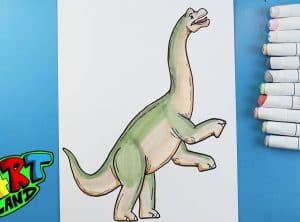
Brachiosaurus Drawing easy with this how-to video and step-by-step drawing instructions. Dinosaur Drawing tutorial for beginners and kids.

Please see the drawing tutorial in the video below
You can refer to the simple step-by-step drawing guide below
Step 1
The first step is to draw a rough circle and a long line for the neck and lower body.
Step 2
After that step, create one large circle for the body and two smaller circles for the legs.
Step 3
Now you can start sketching the body with some rough lines.
Step 4
This is the hard part because you actually have to sketch his legs. The easiest way to do this is to image an elephant’s foot and take it from there.
Step 5
Now fill the sides of the neck to fullness and start shaping the face. Don’t forget the hind legs.
Step 6
Now let’s go into more detail in this step. Continue with detailing and sketching the tail of the dinosaur.
Step 7
In this step just add some contact details. Remember, dinosaurs were reptiles so that means they had the skin of a lizard. When you sketch the details, keep in mind that they are reptiles, this will help you with the detailed lining of the dinosaur
Step 8
Remove unwanted lines and instruction lines and you’re done. All that’s left to do is color him and hang um on your roof or wall. Good job.


