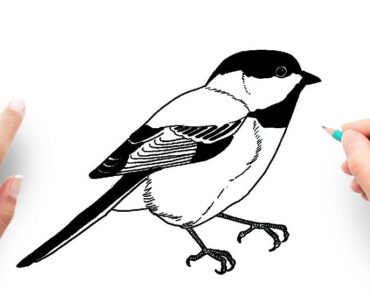
Easy How to Draw an Eagle with this how-to video and step-by-step drawing instructions. How to draw a bird for beginners and everyone.
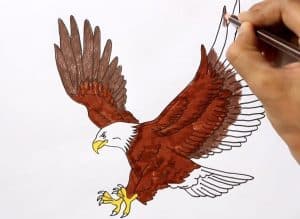
Please see the drawing tutorial in the video below
You can refer to the simple step-by-step drawing guide below
Step 1
In the first step of our eagle drawing tutorial, we’ll start with your eagle’s head and beak.
For starters, you can use a curved line to make an eagle’s neck. Then carefully draw some thinner curves to form a slightly open beak as shown in the reference image.
Step 2 – Next, draw eyes and wings
To continue with your eagle drawing, for this step we will add eyes and wings. The eye is a simple black circle with a small bit of white inside it.
Don’t forget to add a line for the nostrils! Then it’s time for the first wing. This will start with a long and curved line extending up from the end of the neck.
Then you can drag it down again with more serrations for the feathers of the wing.
However, the feathers will start to become less sharp and jagged as you get further down, and near the end of the wings they will start to look more like goosebumps.
Step 3 – Now draw the body of the eagle
An eagle is more than just a head and wings, so in this step of our how to draw eagle tutorial we’ll start on your eagle’s body.
To begin, carefully draw a downward curve from the eagle’s beak. They will end in some straight lines that will make up the top of the leg as they appear in the reference image.
When you are satisfied with it, we can move on to the next step!
Step 4 – Draw a tail and another wing for your eagle
You have already drawn one wing for your eagle drawing, so in this step we will draw another wing.
This wing will be on the other side of the body and will be slightly smaller to show perspective. Also, it will be very similar to the wing you drew earlier.
Once you have that stroke in place, you can add a wide tail using two lines connected by a bumpy line to suggest feathers.
Step 5 – Give your eagle some claws
Eagles are famous for many things, and one of them is their effective hunting ability. They use their sharp claws to catch their prey before they know what’s going on!
Your eagle needs some claws, so we’ll draw some in this step of the eagle drawing tutorial.
As you can see in our reference image, they will start off thin for the legs and then stretch into sharp, curved lines for the ends of the claws. With the nails done, your eagle drawing is truly done!
Step 6 – Draw some feather details for your eagle
You are almost ready for the coloring phase of your eagle painting! We’ll be adding more lines in this step, and while it might look intimidating in the reference image, it’s easier than you think.
Details can make all the difference in an image, even if they are simple. The feather details are mainly concentrated on the wings to give them depth.
You can use several sharp curves in a row to create some feather detail and then extend some lines inward from the ends.
Finally, you can add as much detail as you like to the rest of your eagle drawing! We focused most of the details on the body and tail of our eagle, but you should add whatever works for you!
Step 7 – Finish your eagle painting with some colors
Your eagle has been drawn, and now comes the fun coloring part of your beautiful drawing!
For this step, you should let your creativity run wild and use your favorite colors and art mediums to complete it.
Eagles come in many different varieties, and that means they come in many different colors! You have many options if you want to keep the color palette true, but don’t feel constrained by that!
You can also create an eagle in style using your favorite bright colors.
Once you’ve decided on your color, what artistic medium will you use to perfect it? Will you go painterly using acrylics and watercolors or go detailed with crayons and pencils?
There are more options too and we can’t wait to see what you choose!
3 more tips to help you draw eagle easily!
Fly for a smooth flight as we show you how to draw this eagle even easier.
Eagles are truly beautiful, majestic creatures and they can be quite challenging to draw. There are a lot of elements like their feathers, wings and claws that have to look just right.
While we’ve already helped you with these in the tutorial, you can still make it easier by using some reference images.
Using some eagle photos along with the steps in our tutorial can make drawing any complex part a lot easier.
It will also be useful when depicting fine textured details such as those on feathers. With the reference and pictures in our tutorial, you will find this is an easy eagle to draw!
