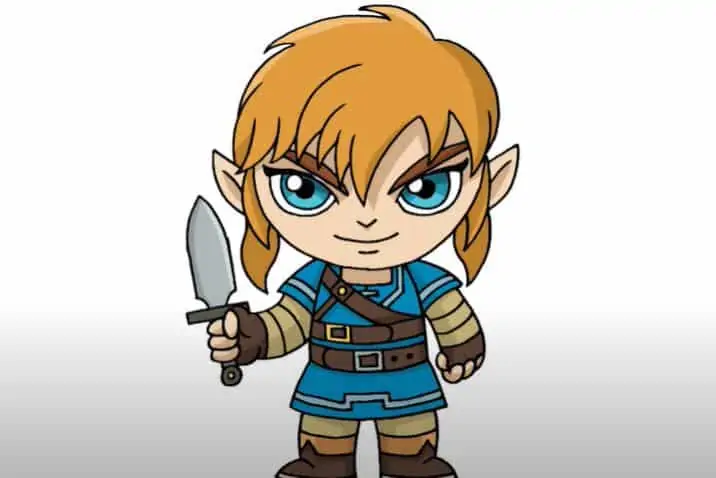
How To Draw Link From Zelda with this how-to video and step-by-step drawing instructions. Cartoon drawing tutorials for beginners nad kids.
Please see the drawing tutorial in the video below
You can refer to the simple step-by-step drawing guide below
Step 1
To start linking, we will first need to draw a large bow that will be his middle. The cut through the middle will be his belt, and the bottom will become part of his outfit.
Step 2
Draw a large oval that will be Link’s head.
We will need to draw his arm into four parts. His shoulder, which is the largest part, has a roughly equal-sized bottom, and a small rectangle connecting the two. At the end of his arm, let’s draw a simple circle that we’ll use to outline Link’s fists later.
Step 3
To draw Link’s legs, you’ll essentially need to repeat the same process you used to create his arms. The only difference here, is that his legs will be drawn in three parts, instead of four.
Step 4
Handed Link some whispering hair, and a long hat that fell behind his back.
To make a shirt for Link, provide him with a collar that almost touches the neck and a lower collar that reaches mid-chest to form a bodice.
Step 5
Give him two sleeves, and extend the midline of his midsection into a belt.
Step 6
Draw the armor on Link’s forearm, connected by two black straps that wrap around the underside of his arm.
Join the bottom two shapes of his legs from the last step to form his boots.
Step 7
Luckily, Link has a very simple and easy-to-draw face. His nose was nothing more than a small triangle, and his mouth was just two short horizontal lines.
Link has huge almond shaped eyes. His thin eyebrows are almost always drawn downwards to give him a stern look.
Step 8
At this point, Link has pretty much done. All that was left to do was to pull the sword handle from behind and a strap across the chest.
Divide the circles of the hand so that he makes a fist.
Step 9
You’ve got it, Link done! This is a simple standing pose, but using the same process you can create the link in any pose you like.
I hope you enjoyed this guide! Don’t forget to comment and like us on Facebook.
Thanks everyone!