Learn How to Draw an Oyster with a pearl with this how-to video and step-by-step drawing instructions. Easy animals to draw for kids and everyone.

Please see the drawing tutorial in the video below
Oyster with a pearl drawing Step by step guide below
Step 1. Pearl
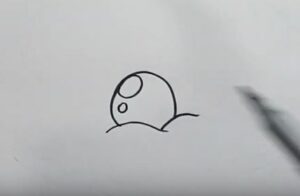
First, choose a place to hold the paper and draw an imperfect circle for the pearl. On the pearl, draw two more circles of different sizes for its reflection.
Step 2. Oyster

Next below the pearl is the oyster, which looks quite soft.
Step 3. Underside Shell

Draw a line that is evenly spaced and parallel to the body of the oyster to form the bottom shell outline.
Step 4. Finishing the Bottom Shell

At the bottom of the shell, near the back, draw a “U” shaped line, connecting it to both sides of one of the scalloped edges of the wavy line. This line starts at the bottom of the shell. Then, using a series of curved lines, each line starts in front of the next scalloped edge and connects to the previous line.
Step 5. Top Shell
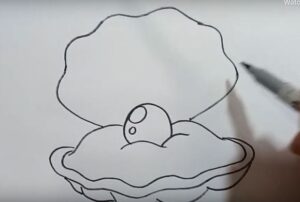
Starting at the top of the shell, draw another long, wavy line. Fold the line back over itself so that it almost touches the other side of the shell.
Step 6. Outline the Shell Top
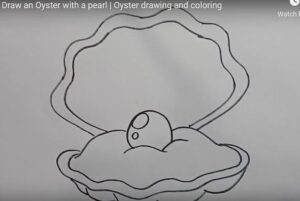
Next, draw a wavy line inside the top of the shell, parallel to the original line.
Step 7. Inner Shell Pattern
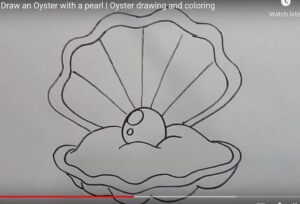
Next, draw curved lines that extend upward from the body of the oyster.
Step 8. Coloring

Color your oyster. Oyster shells are usually black, gray, or brown on the outside, but they have a special color called mother-of-pearl on the inside. This rainbow-colored material is iridescent, meaning it appears to change color when viewed from different angles.
You can also find instructions on How to draw a hedgehog cute and easy, video and step by step guide on my website and more.

No Responses