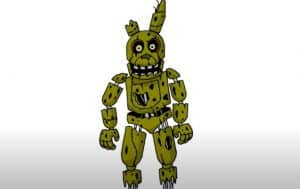
How to Draw Springtrap from Five Nights at Freddy’s with this how-to video and step-by-step drawing instructions. Cartoon drawings for beginners and kids.
Please see the drawing tutorial in the video below
You can refer to the simple step-by-step drawing guide below
Step 1
Start with two shapes, one for the head and one for the body. Outline the facial guidelines as well as the ear guides.
Step 2
Using the tip guide, draw the defined shape of the head and note that the mouth area should be created by the rough styled liner. Add a small section of hair at the top and you’re done.
Step 3
Now we will draw on the lower jaw and lips. The lining for the mouth should also be rough.
Step 4
Draw in two rows of teeth. Teeth are probably the only part of Springtrap’s body that is uniquely decorated or decorated.
Step 5
Outline the shape of the eyes, then draw the eyeballs and all the wrinkles around the eyes. Add the cracks and make sure to make them look inward.
Step 6
We will outline all the flaws on the face, add pupils and then draw the nasal cavity.
Step 7
Now we will draw in Springtrap’s ears. As you can see one is missing a big chunk and the other is in full form, but in its base is missing a chunk. Once the ears are drawn in you have completed this step.
Step 8
We will add details for the ears next. Do this by drawing texture flaws, that is, scratches, cuts, and rips.
Step 9
Here we will draw Springtrap’s shoulders and arms like so. Be sure to paint them in multi-layered sections.
Step 10
Finish the Springtrap by outlining all the detailed lines and shapes that will add texture and stroke to this new character’s makeup. Erase your mistakes and principles/shapes and you’re done.
Step 11
This is the finished new character from Five Nights at Freddy’s 3. Now you can go ahead and color him. Good job.
