How to Draw a Tripod easy with this how-to video and step-by-step drawing instructions. Easy drawing tutorial for beginnerts and everyone.
Please see the drawing tutorial in the video below
You can refer to the simple step-by-step drawing guide below
Step 1
First, draw three vertical lines that diverge from a point. Note the spacing between these lines. You can change the position of these lines if you want to draw the tripod from a different angle.
Step 2
In the last step, we drew a tripod in three-line form. Now we add volume to each of these lines. At the lower ends of the resulting figures, we will draw circular stabilizers.
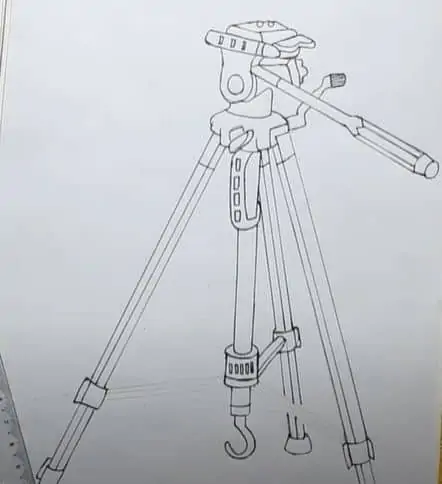
Step 3
Now let’s draw a frame for the camera. The top and side planes form a right angle. From the front you can see asymmetrical shapes. A rear lever is located with a circular handle
Step 4
Add some shadow. You can see the ball on the far stand of the tripod. In this drawing it is especially important to place small shadows on the ground. The realism of the picture would be greatly distorted if it seemed like the tripod was hanging in the air.
That is a fairly simple lesson. If you can draw lines and simple geometric shapes, you can easily draw this tripod. If you find it difficult to do this, you can check out more lessons on how to draw appliances or electronics. You should be able to draw a tripod and other things much faster if you try to draw it without using a ruler or other auxiliary tools.


