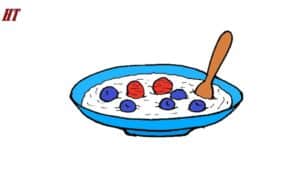
Please see the drawing tutorial in the video below
You can refer to the simple step-by-step drawing guide below
Step 1. Outline the rim of the bowl
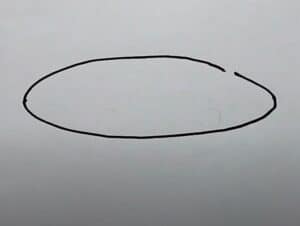
Outline the rim of the bowl by drawing an oval. Note that you need to leave some space as shown if you are confident in using a pen and cannot erase.
Step 2. Draw the body of the bowl
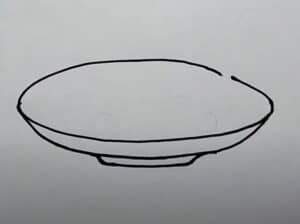
Draw the body of the bowl by creating a curve connecting to the rim as shown. Then, draw a shorter curve underneath to attach the bowl legs.
Step 3. Add the oats
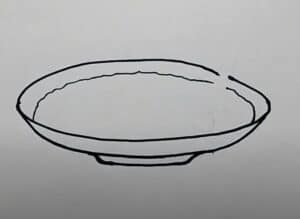
Add the oats to the inside of the bowl by drawing a rough curve.
Step 4. Add the spoon
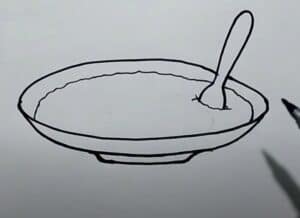
Let’s put the spoon in the bowl of oatmeal by drawing a long U-shaped line for the handle. Then, draw a curve at both ends to reveal the visible part of the spoon bowl.
Step 5. Top with fruit
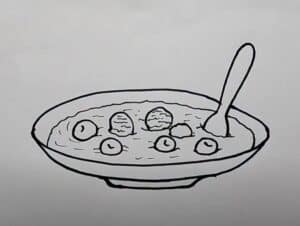
Let’s top with fruit. First, add some blueberries by drawing circles. Don’t forget to draw a small curve inside as shown to give the blueberries more shape. Next, draw the raspberries by making a rough triangle shape. Then, make rough lines to form the texture of the raspberries.
Step 6. Finish the Oatmeal Drawing

Let’s finish the oatmeal drawing by adding some color. First, shade the bowl with a blue crayon then create some shadows by adding dark purple highlights to the inside and bottom of the bowl. Next, color the oats with a light yellow crayon. Use the orange crayon to add some shadows to some parts of the oats like under the topping and near the sides of the bowl. Now, use the blue crayon to color the blueberries and the red crayon for the raspberries.
5
4.5