How to draw a Great Horned Owl easy with this how-to video and step-by-step drawing instructions. How to draw a bird for beginners and everyone.
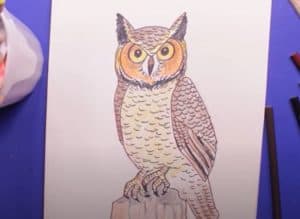
Please see the drawing tutorial in the video below
You can refer to the simple step-by-step drawing guide below
Step 1
Draw the head by drawing three sides of a rough square, creating parts for the ears. The top half of the head should be thinner than the bottom.
Step 2
Draw circles inside the oval for the eyes, and the circles should be at the top and center of the oval. Add a half circle on the right side of the face and a diagonal line above the left eye. Use the semicircle to define the ears and curves that meet below a small diamond for the beak.
Step 3
Draw the wings continue from the beginning, using a rounded and rough triangle. More designs are shown to define the feathers.
Step 4
Draw the body with a line that moves down and to the right.
Step 5
Draw the legs coming from the body. Make sharp hooks for the nails.
Step 6
Draw the tail from the wing. Separate the feathers using vertical lines. On the far right, draw a triangle with the raw edge on the right side.
Step 7
Draw the remaining leg from the tail, making sure you also draw hook-like shapes for the claws. Some legs should be hidden by the tail. Your great horn owl is now complete!
