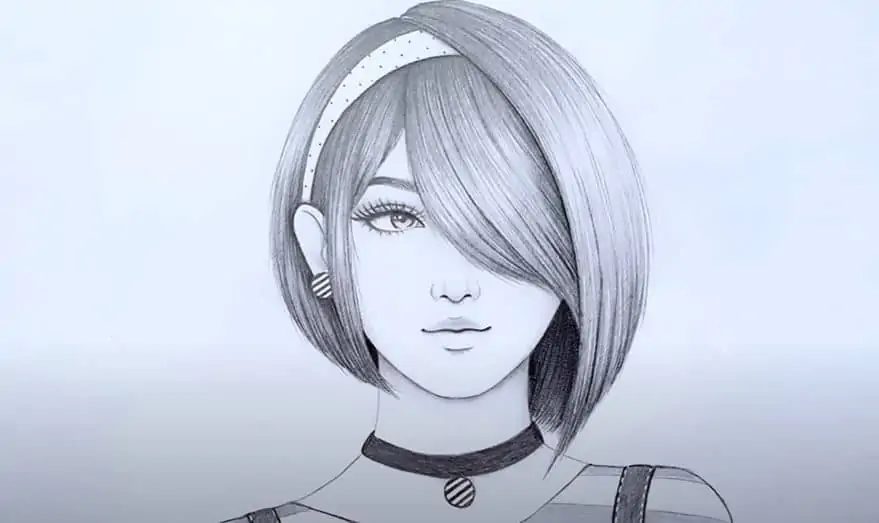
How to draw a Girl with Short hair by pencil with this how-to video and step-by-step drawing instructions. Beautiful Girl Drawing tutorial for beginners and everyone.
Please see Girl with Short hair drawing tutorial in the video below
You can refer to Girl with Short hair simple step-by-step drawing guide below
Step 1. Sketch the frame

First, use a pencil and draw a frame of a short-haired girl as shown in the illustration, which helps us easily draw the girl accurately and proportionally.
Step 2. Sketch the basic shape

From the sketch frame in step 1, we draw the basic shape including the girl’s head, neck, and shoulders because this is a portrait drawing.
Step 3. Draw the hair

Draw the girl’s beautiful short hair with an impressive style, one side covering half of the girl’s eyes and a mane, don’t forget to draw her ears. Add a collar for the short-haired girl.
Step 4. Eyes, nose and mouth

Next, draw one of her eyes, then the nose and beautiful mouth, add some jewelry details for her such as grass rings, earrings.
Step 5. Shading the Hair and Face

All of the examples in this tutorial will use fairly generic lighting without a particularly strong unidirectional light source.
The main goal of this step is to apply an initial layer of shading to define the light, medium, and dark areas of the hair.
Try and shade in such a way that they flow along the different clumps and folds. Also, try to keep your strokes visible (without blending them too much) to animate the individual hairs as you shade.
Be careful not to press too hard on the pencil as you will want to apply the shading gradually to avoid mistakes like making the midtone (light grey) too dark for the shadow.
Darken the entire drawing until you have a good balance between the different areas of the hair. Make sure to keep the light and medium strokes visible by leaving some space between them.
Once you’re done, you can draw some quick pencil strokes over the different clumps of hair to give each strand shape. Do this by pressing harder on the pencil first and then quickly pulling it off the paper. These can make the hair softer and look more natural.
Step 6. Finishing the short-haired girl
Finally, similarly, we darken some details of the jewelry, the pattern of the shirt,… check everything again and admire your beautiful short-haired girl.
You can see more beautiful girl drawings:
Beautiful Girl Drawing with Pencil – How to draw a Girl step by step
Beautiful Girl Drawing step by step – Pencil Drawing Tutorial