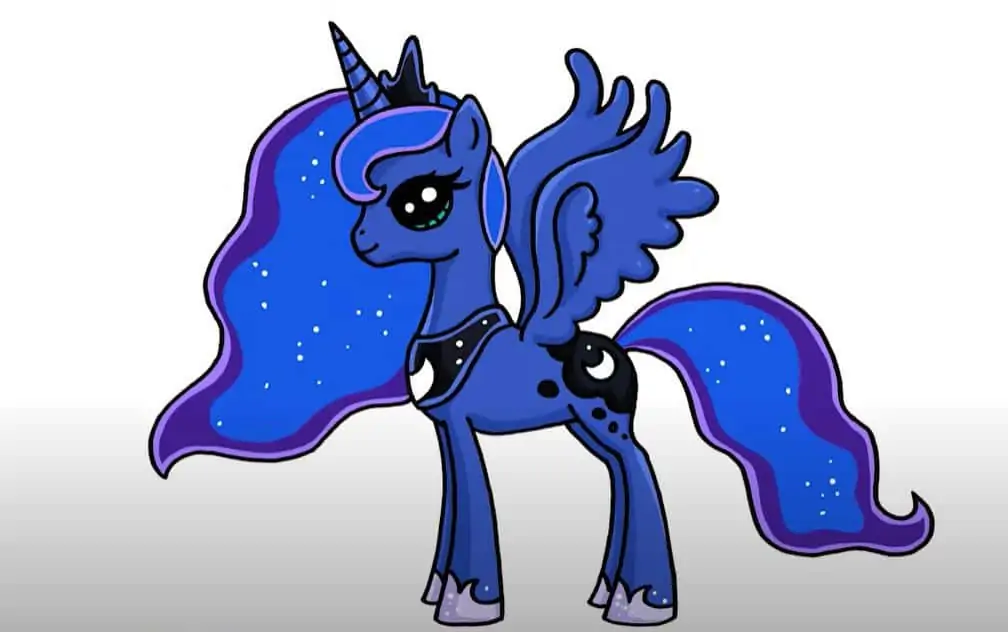
How to draw princess luna easy with this how-to video and step-by-step drawing instructions. How to draw cartoons for beginners and kids.
Please see the drawing tutorial in the video below
You can refer to the simple step-by-step drawing guide below
Step 1
Draw a circle, representing the head. At the bottom of the circle, sketch a slightly rounded line, which will help us draw the eyes of the pony Luna. Note that the lines, which represent the position of the eyes, are the indicator lines and will then be deleted. This means that you need to press down on the pencil a little so that the line can be easily erased without any problems.
Step 2
Below the circle, we draw a curved oval, representing Luna’s body. Please note that this figure is very similar to a pea (of the minion). Connect the head to the body, using two curved lines.
How to draw princess Luna
Step 3
Draw the contours of Princess Luna’s legs. Each foreleg consists of a full circle, extending considerably downwards. Each of his hind legs consists of two pieces, with the upper figure extending towards the torso and the lower figure extending downwards.
Step 4
Following the plan lines draw an eye oval. In the same step, outline the front of the face. By the way, if you like other «My little pony» characters, you can try drawing Pinkie Pie and Rarity.
Step 5
Now let’s draw Princess Luna’s eyes. Inside the oval drawn in the previous step, we need to place two more ovals, draw the upper eyelid and let’s not forget a few highlights on the pupil. Also don’t forget about curled lashes.
Step 6
Continue drawing Princess Luna. In this step, we outline the outline of a long and thin horn, the ears and the line of the bangs.
Step 7
We outline the rounded contours of the lush mane, just behind the horns signifying an elongated shape with three sides. Draw a few dashes, which will be represented by Princess Luna’s mouth and nose.
Step 8
Remove superfluous guides from Princess Luna’s face. Draw the pupils, don’t forget to leave out the glare. Add the horn slightly tilted to one side of the curve.
Step 9
Draw two curls, from top to bottom in the mane area. By the way, the hair should be drawn in the direction from the roots to the ends.
Step 10
Circle the edges of the outline of the legs, outlining the guide lines of the wings.
Step 11
Erase excess lines from the torso and legs, circle the resulting contours. Draw the edges of the wings, including small circles. Note that the size of these shapes gradually increases towards the upper end of the wing.
Step 12
Draw a giant, lush tail of the pony Luna. Start with the outline, and then draw the lines inside. Draw in the direction from the roots to their ends.
Step 13
We end this drawing lesson by drawing the details – the moon and star motifs on the torso and thighs, and the textures on the nails.
That’s the princess Luna drawing lesson from My Little Pony compiled for you by .com. Best of all, come to our website for new fun drawing lessons!