How to draw a Ink pen with this how-to video and step-by-step drawing instructions. Easy drawing tutorial for beginners and all.
Please see the drawing tutorial in the video below
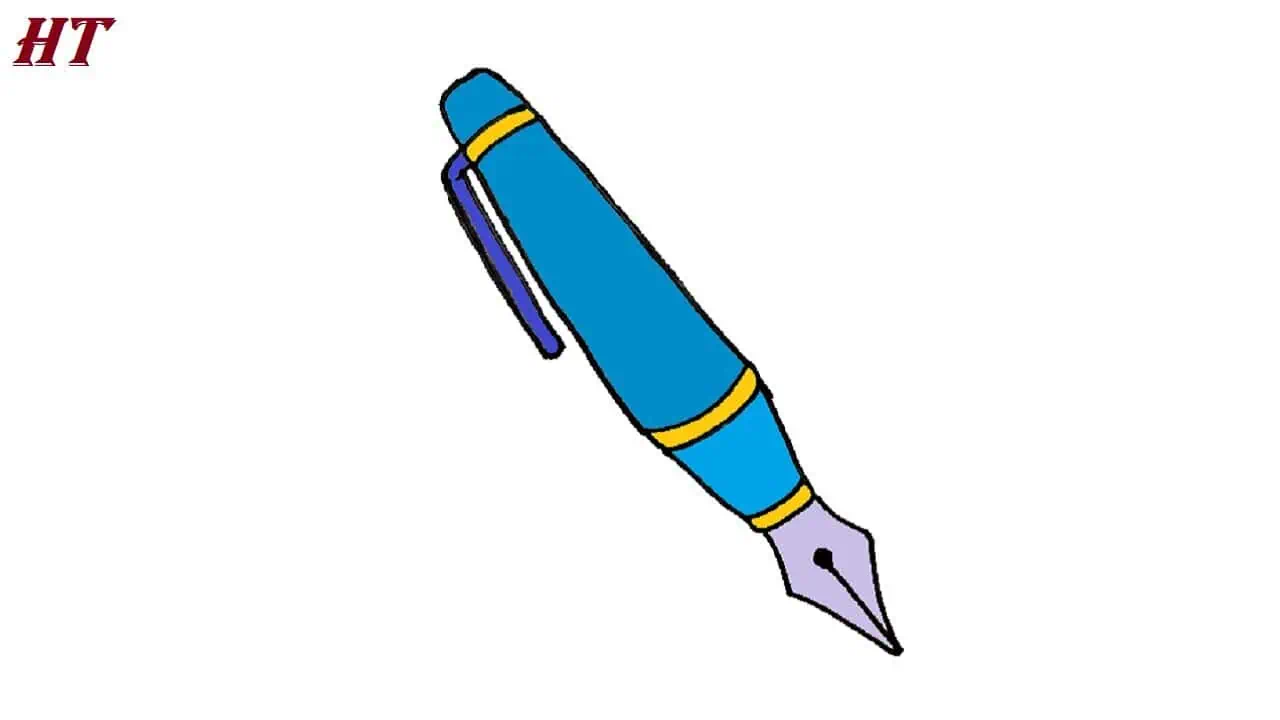
Ink pen Drawing Step by Step
Step 1. Sketch the basic shape:
Start by drawing a long, slender rectangle standing upright. This will be the main body of the pen.
Step 2. Add details:
At the top of the rectangle, draw a smaller rectangle that slightly overlaps the main one. This will represent the cap of the pen.
Step 3. Create the pen tip:
Extend a diagonal line from the bottom of the main rectangle. At the end of this line, draw a small oval or circle. This forms the pen’s tip or nib.
Step 4. Ink cartridge:
Below the main rectangle, draw a smaller, narrower rectangle, slightly tilted. This will represent the cartridge or ink reservoir of the pen.
Step 5. Refine and outline:
Erase any unnecessary lines and refine the shape of the pen. Then, trace over your final sketch with a pen or marker to define the outlines. You can also add some details like a clip on the cap or any other design elements.
Step 6. Ink pen details:
Add grooves or lines along the body of the pen to represent grip or texture. You can also draw the pen brand logo or any other embellishments you’d like.
Step 7. Shading (optional):
To give your drawing more depth, you can add some shading to areas that would be darker, like underneath the cap or around the pen tip.
You can see more drawing:


