How to Draw a Dimetrodon with this how-to video and step by step drawing instructions. This easy dimetrodon instruction guide is perfect for beginners and all looking to learn how to draw.
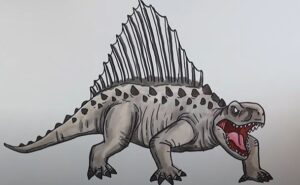
Please see Dimetrodon drawing tutorial in the video below
You can refer to Dimetrodon simple step by step drawing guide below
Step 1. Sketch the head
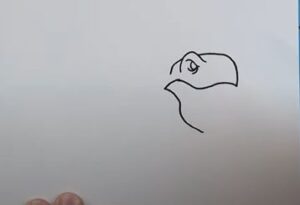
Sketch the head shape of dimetrodon similar to the illustration. Make sure to form a V shape for its mouth. Add small circles for the eyes
Step 2. Add teeth and perfect the mouth
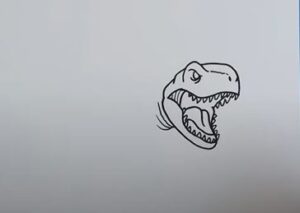
Next, add two dots for its nostrils. Then, make zigzag lines inside the mouth to form sharp teeth. Add tongue inside the mouth.
Step 3. Attach the legs and belly
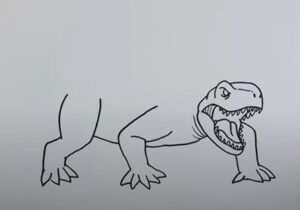
Form the shape of the legs attached to the lower part of the body. Add its sharp claws to the end of each leg. The connection between the front and back legs completes the abdomen.
Step 4. Sketch the back and tail
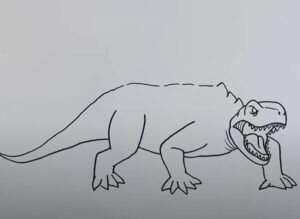
Sketch the elongated shape of dimetrodon’s body. Then, create a long pointed shape of its tail.
Step 5. Add spine
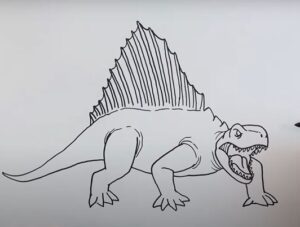
Add a sail-like spine to its body by sketching a bumpy, curved shape. Then, draw a line connecting each pointed end to the body of the dimetrodon.
Step 6. Add spikes and some details
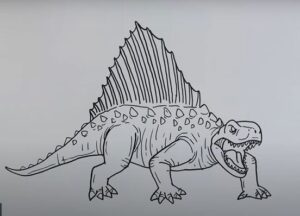
Next draw some triangular spikes on Dimetrodon’s back. Use lines to create folds on Dimetrodon’s body.
Step 7. Complete the Dimetrodon drawing

Let’s add some color to our dimetrodon drawing! First, color the spine with orange and thunder brown pencils. Next, paint the spines on the back and the claws black. Now, color the teeth with a white pencil, the inside of the mouth red. Then, fill the rest of the body with gray.
