How to Draw a Bunsen Burner with this how-to video and step-by-step drawing instructions. You’ll learn the basics for drawing a classic piece of science equipment you’ll find in every classroom and laboratory!
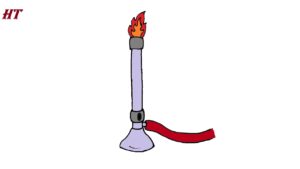
Please see Bunsen Burner drawing tutorial in the video below
You can refer to Bunsen Burner simple step-by-step drawing guide below
Step 1. Sketch the base
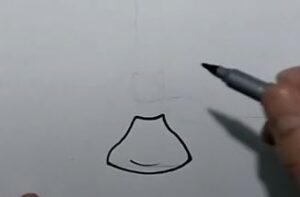
Begin by drawing the base of the Bunsen burner by creating a circle at the bottom of the barrel similar to the illustration.
Step 2. Create a barrel shape
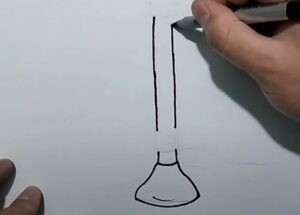
Begin by drawing two vertical lines to outline the Bunsen burner.
Step 3. Draw a collar with air vents
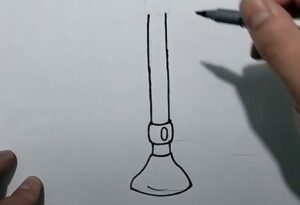
Near the base of the barrel, draw a cylinder for the collar. Then add an oval inside the collar to represent the vent. Make sure to delete any overlapping lines.
Step 4. Add washers
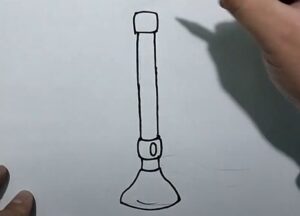
Add a cylinder on top of the barrel to create a seal for the Bunsen burner.
Step 5. Add flames
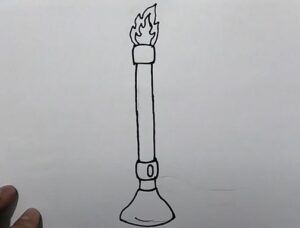
Then, draw a pointed shape on top of the Bunsen burner to outline the flame.
Step 6. Attach the air hose
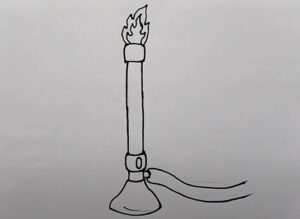
Now, draw two short horizontal lines at the bottom of the Bunsen burner, then attach a wavy shape to represent the gas pipe connected to the burner.
Step 7. Complete the Bunsen burner drawing

It’s time to make the Bunsen burner come alive with color! First, use orange and yellow crayons to color the fire. For the Bunsen burner body, use gray. Now, color the stoma with a black pen. Then, use a red pen to make an air duct.



No Responses