How to draw a Bluebird spring with this how-to video and step-by-step drawing instructions. Easy animals to draw for children and everyone.
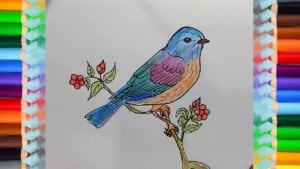
Please see the drawing tutorial in the video below
Bluebird spring Drawing Step by Step
Step 1. Start drawing the beak
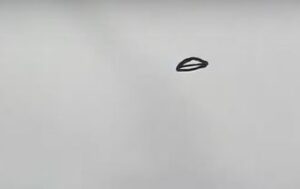
First draw the beak of the eagle as a triangle then divide the triangle into two parts with the tip pointing to the right.
Step 2. Sketch the head and back
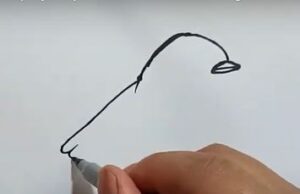
Sketch the head and back with a simple curve as shown.
Step 3. The first part of the wing
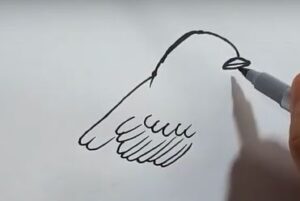
Next draw the first part of the wing with two layers of feathers, the feathers are drawn simply in a “J” shape, notice that the second layer of wing is longer than the first layer.
Step 4. Draw the chest and belly
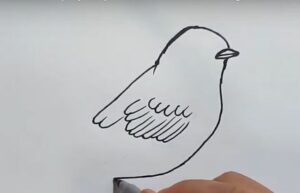
Draw the chest and belly of the Bluebird simply with a curved arc as shown.
Step 5. The eyes
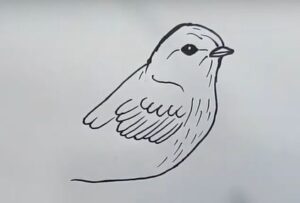
Draw the eyes with small ovals, add some details to the feathers on the head and chest.
Step 6. The tail and finish the wings
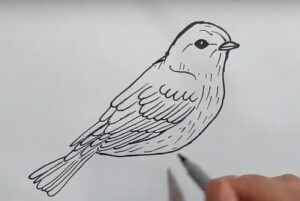
Next draw the long tail and continue drawing two layers of feathers with longer feathers to finish the wings of the Bluebird. Don’t forget to add some details to the feathers, simply short, faint lines.
Step 7. Draw the legs and perch
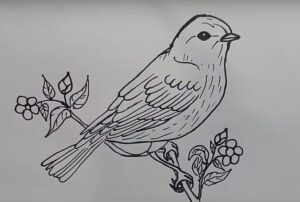
Draw the bird’s legs as it perches on a branch with bright flowers signaling the coming of a warm spring.
Step 8. Finish and color
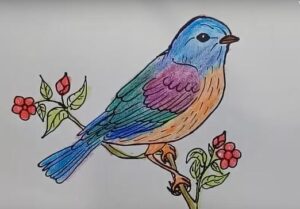
Finally, check the Bluebird drawing again to complete any unsatisfactory details and color the bird with the main color being blue mixed with many colors to make the bird stand out in a vibrant spring of nature.




I love your drawing of the bluebird and will use it with my elementary drawing classes.
Thank you for sharing this with use.
G. Switzer
Thank you for your trust!