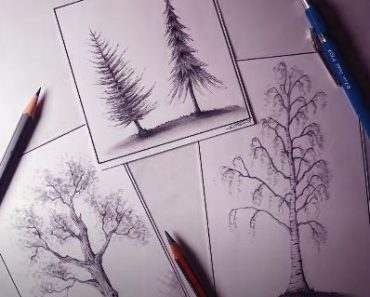
Pine Tree Drawing easy with this how-to video and step-by-step drawing instructions. Learn to draw tree for beginners and everyone.
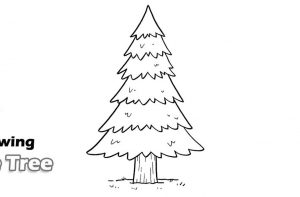
Please see the drawing tutorial in the video below
You can refer to the simple step-by-step drawing guide below
Step 1:
Start by drawing the trunk. Draw two small lines up and down slightly apart. Connect them by drawing a line from the bottom of both lines.
Step 2:
Next, draw the roots. Draw small wavy lines out of the bottom of the trunk. You can draw as much as you like.
Step 3:
Now you will draw the first set of leaves at the bottom of the tree. Draw a long line along the top of the trunk; make it jagged in some places when you draw the line that looks like the leaves are sticking out. Now draw a jagged line that slopes upward from the line you just drew. Do the same on the other side.
Step 4:
Finish by drawing the leaves at the top. The trunk forms a jagged triangle, so continue your jagged lines on both sides and join them at the top.
Interesting facts about pine trees
A pine tree is a tall tree with a cone shape that produces needles and cones. The cones can be male or female. The male cones produce pollen that pollinate the seeds of the female. Pine cones are also common food for many animals living in the forest. The pine tree is 60 feet tall and 30 feet wide. They grow all over the world and are grown because people think they are beautiful. In the US, there are 35 different varieties grown. Pine trees can grow in any type of soil. Pine wood is mostly used to make furniture. Common types of trees are Sugar Pine, White Pine, Red Pine and Hairy Pine.
