How to draw Cowgirl with this how-to video and step-by-step drawing instructions. Sharpen a pencil and follow along with these clear 9 drawing steps. You’ll learn the fundamentals for drawing a cowgirl.
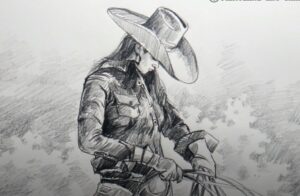
Please see Cowgirl drawing tutorial in the video below
You can refer to Cowgirl simple step-by-step drawing guide below
Step 1. Shape the head
Begin by drawing a U-shaped outline for the cowgirl’s head. Next, create two circles for the eyes and two thin ovals for the eyebrows. Now, outline the nose and mouth by drawing curved lines. Then, form long wavy hair.
Step 2. Add the Western hat
First, create the base for the cowgirl’s Western hat that attaches to the top of the head. Next, draw a horizontal line for the strip. Now, outline the top of the hat by drawing a wavy line.
Step 3. Draw the body
Draw the triangular outline of the shirt collar. Next, add a vertical line attached to the bottom of the collar. Then, create the shape of her coat as shown.
Step 4. Attach the arms
Draw the elongated outline of her jacket sleeves. Then, form the shape of her hand.
Step 5. Draw the belt
Sketch an oval belt buckle. Now, add two curved lines to form the waist strap.
Step 6. Shape the pants
Create the shape of a cowgirl’s pants.
Step 7. Add boots
Sketch the pointed shape of her boots as shown in the picture.
Step 8. Attach the fringe
Add tassels on jackets, sleeves and pants to protect from the rain.
Step 9. Complete the Cowgirl drawing
Let’s make our cowgirl drawing colorful! First, color her hair and eyebrows with a yellow pen. Next, color her eyes with a black pencil and her skin with a peach pencil. Now, use different shades of brown to color her hat, jacket, and pants. Use a blue pencil to color her shirt. Then, color her belt buckle with an orange pen. Finally, color in her belt and boots with a dark gray pencil.
