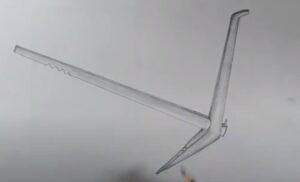
How to draw a Plough with this how-to video and step-by-step drawing instructions. This easy Plough tutorial is perfect for young children looking to get started with drawing.

Please see Plough drawing tutorial in the video below
You can refer to Plough simple step-by-step drawing guide below
Step 1. Draw a plow Share
Start by sketching the plow. Now add a wavy horizontal line near the bottom.
Step 2. Beam shaping
Form a long horizontal beam then attach a thin rectangular brace.
Step 3. Sketch Clevis
Sketch the circular shape of the drill attached to the end of the beam.
Step 4. Attach the handle
Attach two curved handles connected to the plow blade. Then add two circles to outline the nail.
Step 5. Add handle brace
Draw a horizontal bar in between the handles to form the brace. Make sure to delete any unnecessary overlapping lines.
Step 6. Complete the simple plow drawing
Let’s breathe life into our easy plow drawing! First, color the plow blade with dark and light gray pencils. Fill in the grooves and nails on the handle with a light gray pencil. Next, shade the handle and handle brace with a dark yellow pencil. Now, fill in the bar and its frame with a brown pencil.


No Responses