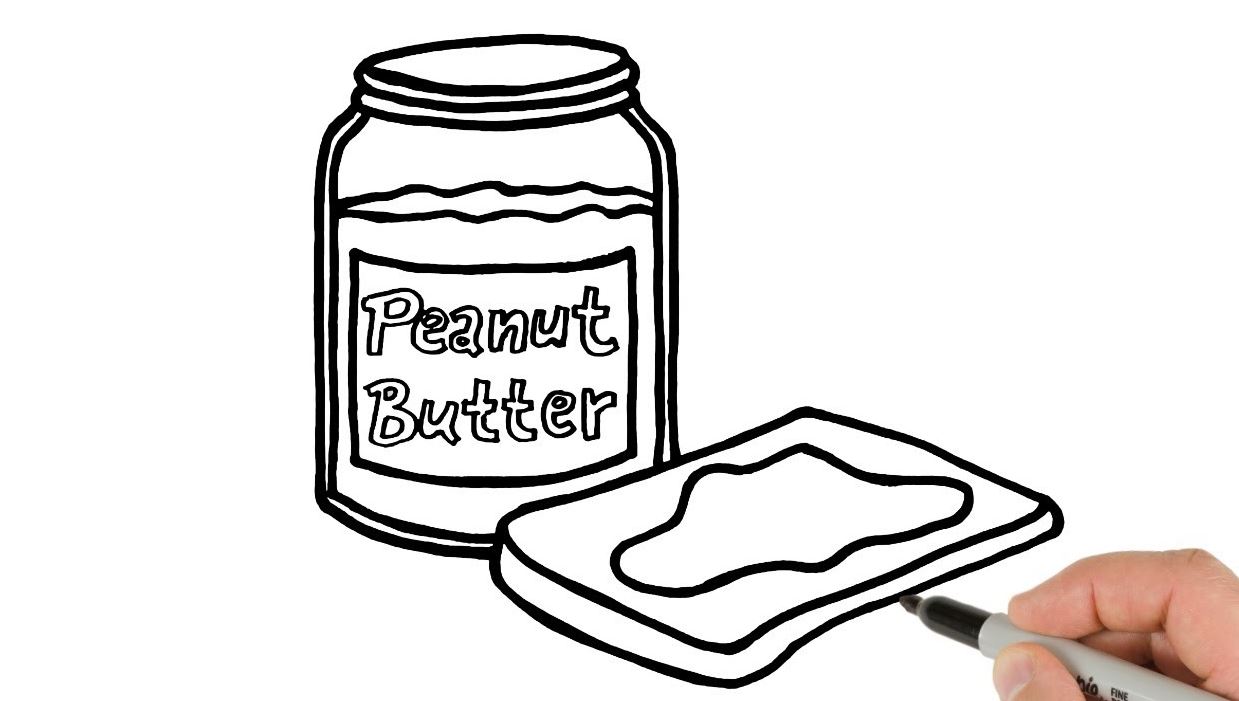
How to Draw Peanut Butter with this how-to video and step by step drawing instructions. With 9 easy steps to follow, You’ll enjoy making their own peanut butter on paper. Also included is a downloadable version of this peanut butter drawing lesson.
Please see the drawing tutorial in the video below
You can refer to the simple step by step drawing guide below
Step 1. Sketch the jar
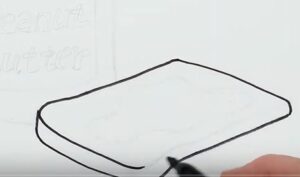
Draw a rectangle with rounded corners to outline the shape of the peanut butter jar.
Step 2. Attach the cover
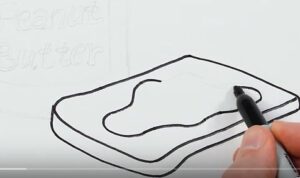
Make a U-shaped line on the top of the jar to attach the lid.
Step 3. Add details of the lid
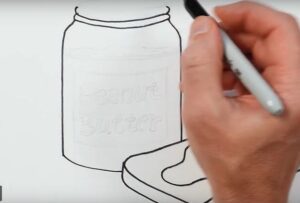
Now, draw a horizontal line to separate the top and side of the lid. Next, add detail at the edges of the lid by forming repeating vertical lines at equal distances.
Step 4. Draw the jar label
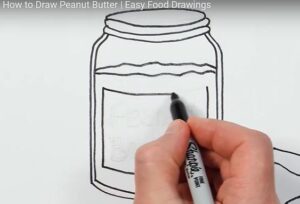
Draw a peanut butter label attached to the jar. First, draw two horizontal lines defining the edge of the label. Next, add peanuts to the label by forming a number “8” shape as shown. Then, draw wavy lines at the corners of the label to add some texture.
Step 5. Write text
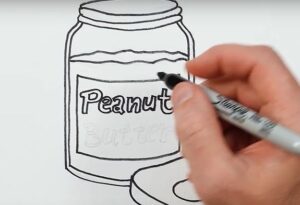
Add “PEANUT BUTTER” to the label of the jar of peanut butter.
Step 6. Draw a piece of bread
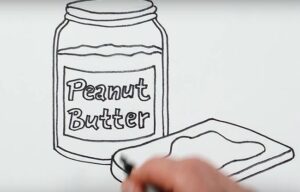
Add a piece of bread to our peanut butter drawing by creating a thin rectangular box with edges on two corners as shown.
Step 7. Add another piece of bread
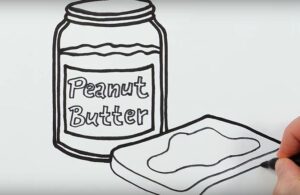
Add another piece of bread by drawing another thin rectangular box below the one we drew. Don’t forget to erase the overlap of the two pieces of bread.
Step 8. Draw a plate

Draw a plate to place the pieces of bread on by creating two circles as shown.
Step 9. Complete the peanut butter drawing
Let’s complete our peanut butter drawing by adding color. Use a brown crayon to color the bread, the top and bottom of the jar, and the peanuts on the label. Make sure to color the bread crust with a darker brown pencil to add more depth to our drawing. Next, color the lid and parts of the jar label with a blue pen. Then, shade the plate and the remaining uncolored parts of the label with a yellow or orange colored pencil.
