How to Draw Juice Step by Step with this how-to video and step-by-step drawing instructions. Easy drinks drawing tutorial for beginners and all.
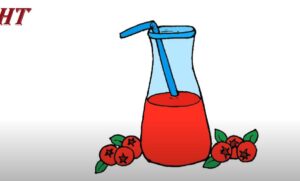
Please see the drawing tutorial in the video below
You can refer to the simple step-by-step drawing guide below
Step 1. Sketch the edge of the container
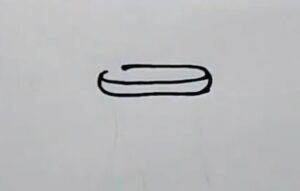
Sketch the edge of the container by drawing a long shape with rounded corners. Add the back of the rim by drawing a curve, making sure to leave a small gap for the straw.
Step 2. Draw the body of the container
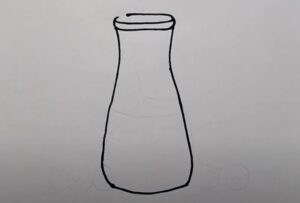
Draw the body of the container by creating a nearly U-shaped curve as shown.
Step 3. Draw the curved straw
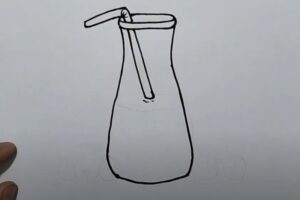
Sketch the edge of the curved straw by first creating an L shape. Then, draw three lines on the curved part of the straw. Now you know what the gap in the edge of the container means
Step 4. Add the juice
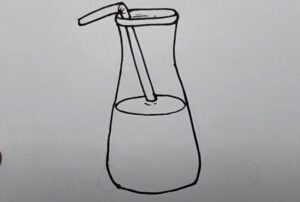
Add the juice inside the container by drawing a wide oval.
Step 5. Draw the cranberries
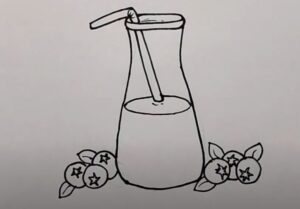
Draw the cranberries next to the juice container by creating a circle with a star inside as shown. Add the cranberries around the container by drawing more circles with stars inside. Attach the leaves to the cranberries by drawing lines as shown.
Step 6. Finish the juice drawing

Let’s finish the juice drawing by first coloring the juice in red. Next, color the edges of the container in blue. Now, color the curved straw in a darker blue. Finally, color the cranberries in red and then color the leaves in green.
