How to Draw Glasses easy with this how-to video and step-by-step drawing instructions. Easy drawing tutorial for beginners and all.

Please see the drawing tutorial in the video below
You can refer to the simple step-by-step drawing guide below
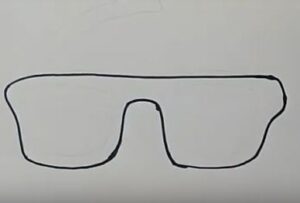
Step 1. Drawing the Lenses

First, sketch the outline of the lenses – pay attention to their size and shape. According to the rules of linear perspective, the lenses closest to us should be larger than the lenses further away.
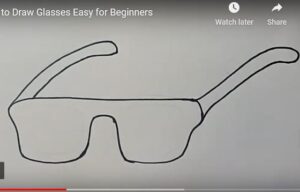
Step 2. The Frame

Now draw the temples (arms). Note that towards the tip, the arms should curve down. The essence of the first two steps in this lesson is the same – you should sketch the conditional frame of the glasses drawing.
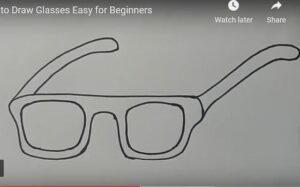
Step 3. The Lens

Next, draw the lenses inside the frames with two circles as shown, very simple, right? You also need to consider their size.
Step 4. Finishing and Coloring

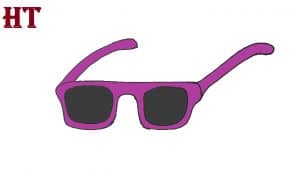
This is the final step. Add some details such as screws and decorative elements to the side panels. Then color your glasses.


