How to Draw Cashew nut easy with this how-to video and step-by-step drawing instructions. Fruit drawings for beginners and kids.
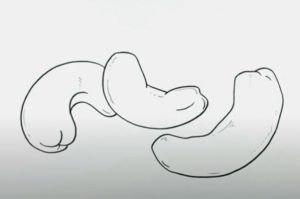
Please see the drawing tutorial in the video below
You can refer to the simple step-by-step drawing guide below
Step 1
The cashew tree is always a very curved figure. If you’ve eaten these nuts, you’ve probably noticed it. You can see a smooth bend on the outside of the nut and a very strong bend on the inside.
Step 2
If you want to draw a realistic nut, it’s not enough just to draw the outline, right? We still need to work with the texture. We divide our nut into two unequal halves with the help of a line located near the internal curvature. Then we draw almost unnoticeable smooth lines near the top edge of our cashews.
Step 3
In the last step, we talked about realism. We can’t say we’ve drawn an actual particle if we’re not working with the drop shadow. In our case the drop shadow looks like a blur. This hatch is located inside the nut and above the ground.
Sometimes all you need for good practice is a small and simple drawing tutorial. We hope that today we have created a simple and useful lesson. If you get a good result, don’t forget to write about it in the comments. We will also wait for your response if you have any errors in the drawing that you cannot fix. Write to us and we will help you.
