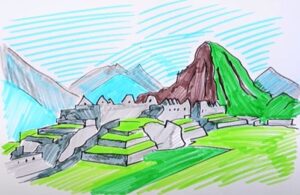
How to Draw Machu Picchu with this how-to video and step by step drawing instructions. Included are 6 easy steps to follow, kids will enjoy making their own Machu Picchu on paper. Also included is a downloadable version of this drawing tutorial of this ancient Peruvian site.
Please see Machu Picchu drawing tutorial in the video below
You can refer to Machu Picchu simple step by step drawing guide below
Step 1. Sketch the bushes
Shape the bushes by drawing bumpy lines as shown.
Step 2. Draw the foundation
Next, draw stacks of rectangles to form the foundation. Add grass texture by drawing small pointed lines.
Step 3. Add stairs
Now, draw thin horizontal strips to add stairs.
Step 4. Draw the walls of the ruins
Create two rectangular boxes on top of the mountain and another rectangular box at the bottom right of the drawing. Add triangular structures mounted on top of the wall similar to the illustration. Don’t forget to remove the foundations that overlap the walls of the monument.
Step 5. Add Windows
Sketch the square windows. Then add a line to form the inside of the wall visible from the window.
Step 6. Complete the Machu Picchu drawing
Let’s color our drawing of Machu Picchu! First, color the bushes with a dark blue pencil. Next, shade the top of the base layer with a light blue pencil and the sides with a brown pencil. Now, shade the stone steps with a gray pencil. Then, use cream colored pens to color the walls of the ruins. Use a darker gray to add some shadow to the wall. Finally, shade the sky with a light blue pencil.
You can see more drawings:
