How to draw a yak easy with this how-to video and step-by-step drawing instructions. Easy animals to draw for beginners and kids.
Please see the drawing tutorial in the video below
You can refer to the simple step-by-step drawing guide below
Step 1
So we started this tutorial on how to draw a yak. We’ll start by locating our animal on the sheet. We just draw yak, so we’ll place it in the center of the sheet. Draw three ovals of different diameters. Then, connect them using soft curves, pressing lightly on the pencil.
Step 2
In this step we will work to create the basic contours of the head and the front of the body. So outline the long and elongated front part of the face, then draw a horizontal line in the center of the head oval, indicating the position of the eyes. Using soft lines, draw two side triangles. Connect the head and the body with short, flowing lines.
Step 3
We hope you’re not too tired as we continue our tutorial on how to draw a yak. In this step we will outline the forelegs and the hind legs of the hooves. Yak has large and strong legs. However, there are noticeably smooth curves. Also in this step we will connect the front and rear oval of the body with a smooth horizontal line.
Step 4
So we’ve got a rough silhouette of the yak ready and now we’ll add the smaller details. To draw the eyes, we will use the complementary horizontal line from the second step. As you can see, the eyes are like two small circles. At the end of this tutorial, describe nostril as two commas.
Step 5
Draw the outlines of the mane to look like a messy hairstyle. Using short lines, outline the mane boundaries. Also in this step we will draw horns, which is a very formidable and powerful weapon of yak.
Step 6
Yak differs from other clawed animals in that it has thick layers of warm wool covering its body. Hence, in this step, we outline the outlines of the feathers, which are zoned on the front of the torso and forelegs.
Step 7
In the last step, we did a great job and now we will just draw the outline of the fur covering the body and the space between the yak’s forelegs and hind legs.
Step 8
In this step we will draw the fur covering the tail and blend in. That is why we do not see the outline of the tail as in drawing lessons for other animals. To create this effect, use short vertical strokes located in the same plane.
Step 9
We’re going to complete this tutorial soon, and we hope you won’t get bored. First, let’s delete the construction lines that we drew in the previous steps. Then we’ll draw the final silhouette of yak with stronger pressure on the pencil.
Step 10
At the end of the yak drawing tutorial we will add some shadows to the face, neck, and body. Shadows appear as single, swept windows. To make it easier for you, you can first draw the contours of the shadows and then paint over them.
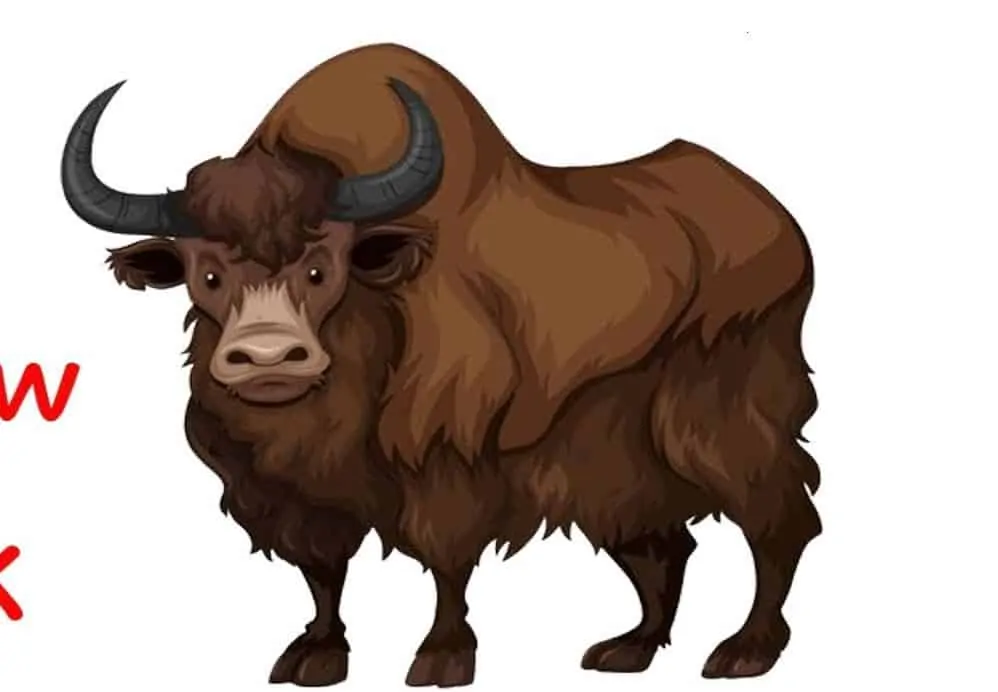
how to draw yak
This lesson is quite complicated, but it teaches you to draw a yak. Traditionally, a few tips have been helpful. To describe more of the “fur” contours in any animal’s linguistic use short lines. Another important piece of advice – the first operations of this tutorial should be done with very light lines so that in the following steps it will be easier to delete these lines.
To make your yak more interesting and voluminous, try adding extra hatching layers. Also try to draw the background, at least with very general lines. This will give your yak drawings a more realistic look.


