How to Draw a Water Buffalo with this how-to video and step by step drawing instructions. Follow along with these basic 8 drawing steps. You’ll learn the fundamentals for drawing a water buffalo.
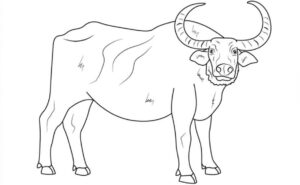
Please see Water Buffalo drawing tutorial in the video below
You can refer to Water Buffalo simple step by step drawing guide below
Step 1. Draw the horns
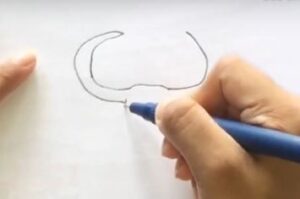
First, add the curved shape of the water buffalo horn on the top of the head.
Step 2. Attach the ears
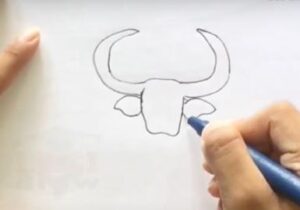
Attach long pointed buffalo ears to both sides of the head.
Step 3. Create eyes
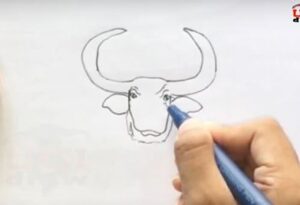
Create two shaded ovals for the eyes.
Step 4. Add snout and nose
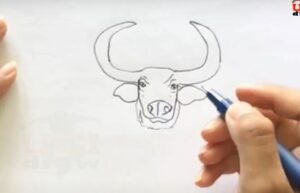
First, draw an oval with two dots. Next, create a curved line to form the mouth.
Step 5. Sketch the back and neck
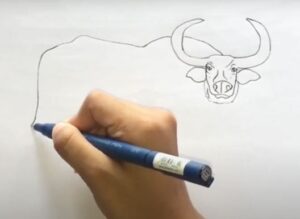
Sketch the water buffalo’s back and neck with a curved line starting from the head extending to the tail.
Step 6. Attach the legs and belly
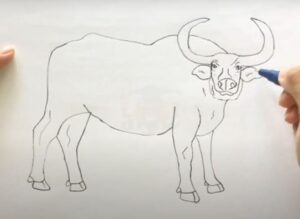
Draw the long thin shape of the water buffalo’s legs attached to the lower part of the hoofed body. The space between the front and hind legs draws a curve that forms the abdomen.
Step 7. Add details
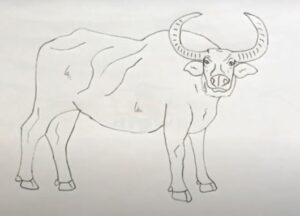
Draw some more lines on the water buffalo’s horns and body to make it look more realistic.
Step 8. Complete the drawing of the water buffalo
Now, let’s breathe life into our water buffalo drawing! First, use a dark gray pencil to color in the horns, inner ears, muzzle, hooves, and tip of the tail. Next, use a gray pencil to color in the rest of the water buffalo’s body.
