How To Draw A Ukulele easy with this how-to video and step-by-step drawing instructions. Simple Drawing for kids and beginners.

Please see the drawing tutorial in the video below
You can refer to the simple step-by-step drawing guide below
Step 1. Draw the headstocks
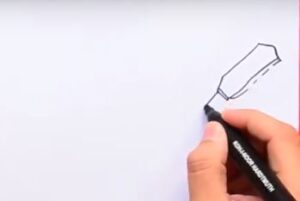
First draw the first part of the Ukulele which is the top of the neck.
Step 2. Draw the neck and soundboard
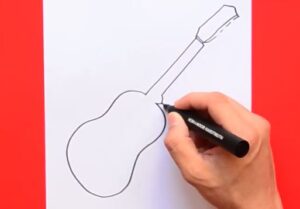
The headstocks are stretched to form the neck and widen to form the soundboard, this is an important part that creates the sound of the Ukulele.
Step 3. Add soundboard details
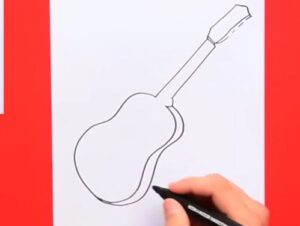
Below the soundboard, use a line drawn along the edge of the drawn soundboard shape to form the box shape of the soundboard.
Step 4. Add keys

Adding locking buttons at the top of the neck helps stabilize the strings and adjust the tension or overlap of the strings.
Step 5. Draw the strings
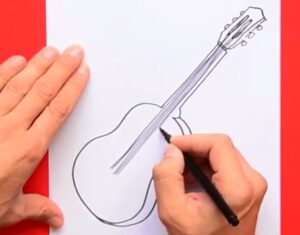
From the top of the neck, draw vertical strings parallel to the neck as shown.
Step 6. Add bridge and soundhole
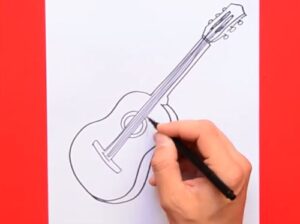
Next draw the bridge and small dots for the pins that fix the strings and draw two circles overlapping each other to form the sound hole on the soundboard.
Step 7. Add texture
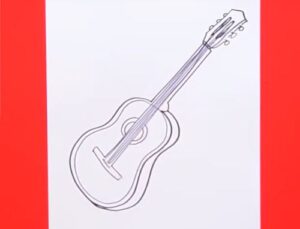
Finally, add texture by redrawing along the inside contour of the soundboard to create more patterns for the instrument.
Step 8. Complete and color

Check the drawing again, edit it to be as complete as possible and color it. The ukulele has a yellow or brown barrel and other parts are purple or can also be darkened in other colors to suit your preference.
You can see more drawings:


what