How to draw a Roman Soldier easy with this how-to video and step-by-step drawing instructions. Easy drawing tutorial for beginners and eveyone.
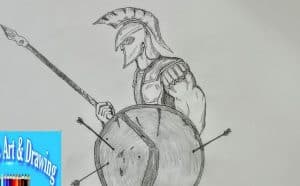
Please see the drawing tutorial in the video below
You can refer to the simple step-by-step drawing guide below
Step 1. Sketch the hat
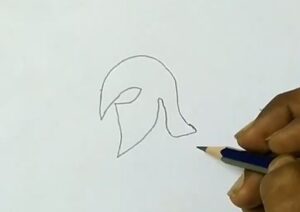
First let’s draw the head of a Roman soldier. Start by creating shapes that outline the actual shape and structure of the soldier’s helmet.
Step 2. Add details of the helmet
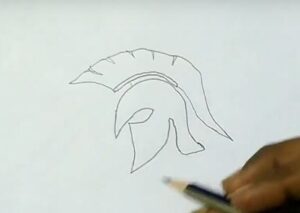
You’ll continue to outline the hair for the helmet running down the middle like a Mohawk. You will then need to add details to the mask, which are the indentations from the mold.
Step 3. Draw the face and neck
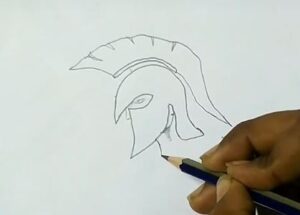
On the helmet shape add eyes and nose for the warrior, and add a neck to him.
Step 4. Draw the chest armor and arms
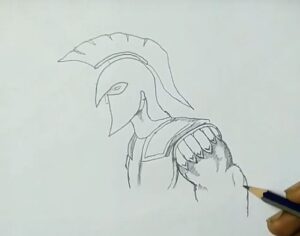
Next, draw his chest, his sturdy armor and the warrior’s muscular arms.
Step 5. Draw the shield
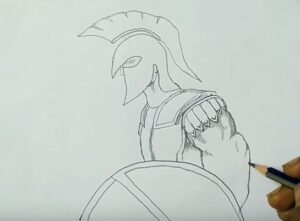
He always uses a shield to cover his body, so next is a round shield with patterned lines as shown in the picture.
Step 6. Darken the drawing of the roman warrior
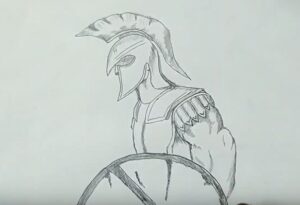
Now let’s use a pencil to darken some details to highlight the image of the Roman warrior.
Step 7. Add details to the shield
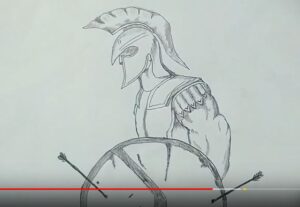
On the shield there are arrows still stuck in it, this is the result of fighting on the battlefield.
Step 8. Draw the spear

Finally draw a spear for him, a long and pointed spear. Check and re-complete any unsatisfactory details.

this is cool!
thank you so much! It helped me get what I was trying to do, done!
thank you!