How to draw a range rover easy with this how-to video and step-by-step drawing instructions. Car drawing tutorial for beginners and everyone.
Please see the drawing tutorial in the video below
You can refer to the simple step-by-step drawing guide below
Step 1
First of all, we sketch the body of our car, which visually consists of two parts – the upper and lower parts. Note that there are a lot of straight lines in the Range Rover lesson.
Step 2
Now with the help of straight lines we outline the headlights and grille in the front part. Next, we outline the wheels, arches, and rearview mirror.
Step 3
From this step we will use clear and sharp lines. Use straight lines to draw the headlights and the grille in the center of the headlights.
Step 4
Draw the hood with a straight line. Next draw the bumper on which there are additional grilles and fog lights.
Step 5
Let’s move on to the front end of our Range Rover. There will also be a lot of straight lines, with which we draw the roof and windows of our SUV. In the same step draw out the mirror.
Step 6
Continuing the lines of the side windows, draw the doors. Continue the line of the roof to draw the back of the car. Next, we draw the tail lights and door handles.
Step 7
Let’s move on to the wheel. But first draw the wheel arches. Next, use very fine lines to draw the wheels out yourself, which should be very smooth and even.
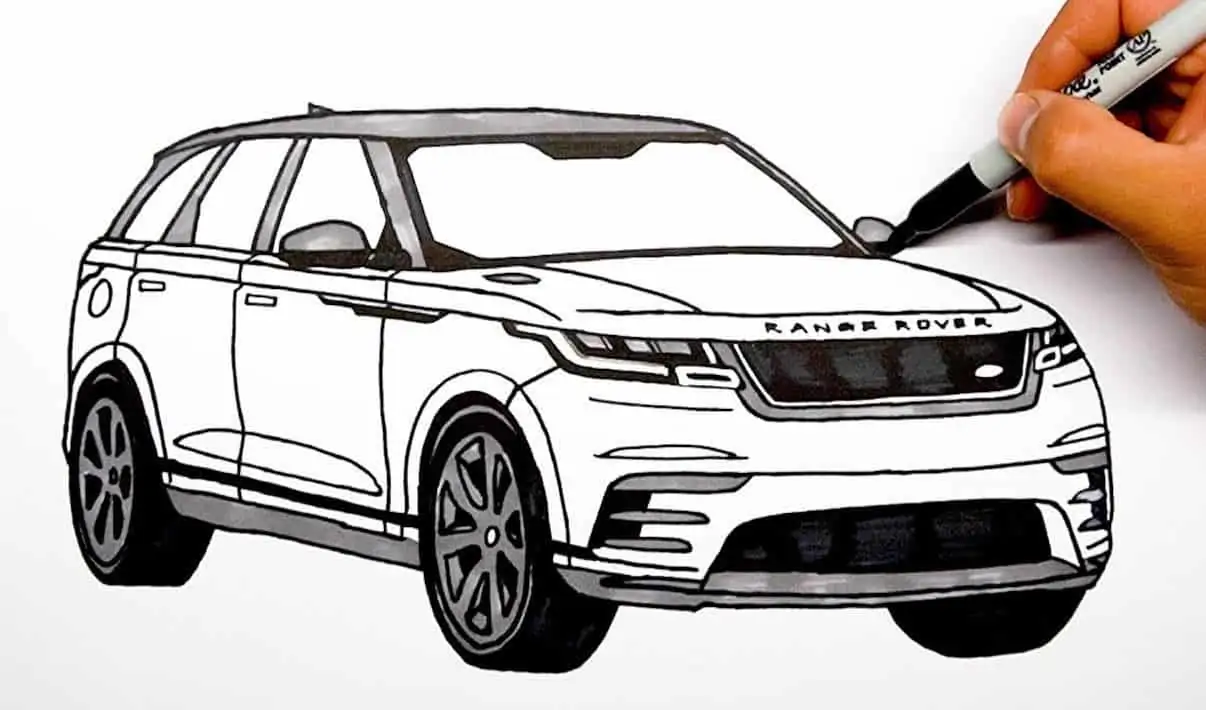
Step 8
Here we are at the final step in which we only need to draw contours. In our example, you can see the rim has five beams, but you can choose any other shape. You can also add shadows.
That’s the end of the drawing lesson on how to draw a Range Rover. If you like it, then don’t forget to visit all our other drawing lessons about cars, we are sure you will like them. We also have social networks that you can subscribe to.


