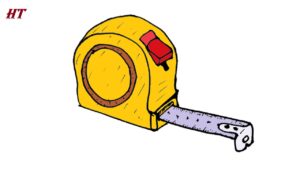
How to draw a Measuring tape with this how-to video and step-by-step drawing instructions. Easy drawings tutorials for beginners and everyone.
Please see Measuring tape drawing tutorial in the video below
You can refer to the simple step-by-step drawing guide below
Step 1. Start drawing the shell
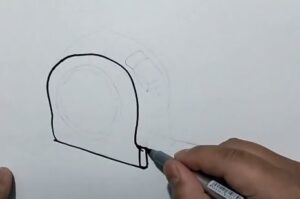
First, draw a straight line and above it is a closed arc. On the right side, leave a space to prepare for the door using a tape measure.
Step 2. Add details to the shell
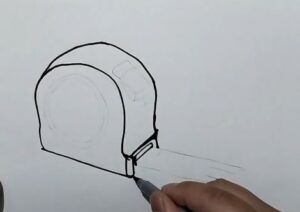
Next, draw an arc outside the shape just drawn in step 1, add a small rectangle for the part of the tape measure to pull out and in.
Step 3. Draw a tape measure
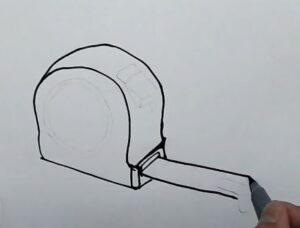
Next from the mouth of the shell draw two parallel lines.
Step 4. complete the tape measure
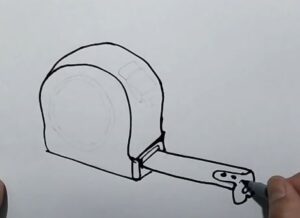
Draw the metal tape measure’s tip with a curved downward shape and additional fixings.
Step 5. Add texture on the shell
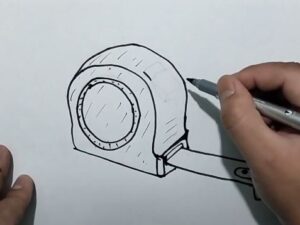
On the shell, draw two circles, a larger circle on the outside and a smaller circle on the inside to create a label for the ruler. Add lines on the shell to make it look more realistic.
Step 6. Draw the ruler lock
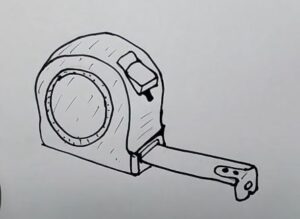
Draw a tape measure lock button located on the top of the case, including a mount and slide that locks and opens when using the ruler.
Step 7. Complete the tape measure
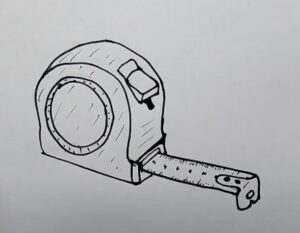
Finally, to complete the formula, we mark equal intervals on the tape measure and number the length measurement units.
Step 8. Coloring

And of course to make the drawing beautiful we will color the tape measure with the colors you like, here I colored the shell yellow, brown the circle on the shell, red the lock button and of course The tape measure is usually gray or silver in color because it is usually made of corrugated iron, or it can also be made of plastic.

