How to draw a Notebook with this how-to video and step-by-step drawing instructions. Follow along with these simple 6 drawing steps. You’ll learn the fundamentals for drawing a notebook.
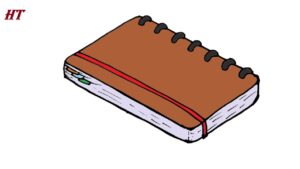
Please see the drawing tutorial in the video below
You can refer to the simple step-by-step drawing guide below
Step 1. Create the shape of the notebook
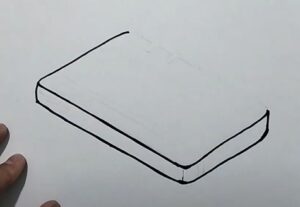
Form a rectangle of the notebook. You can leave one edge blank as shown to draw the rings to fix the notebook in the final step.
Step 2. Add strap
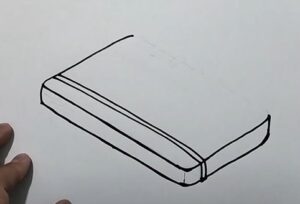
Next, add a thin strap near the edge of the window.
Step 3. Attach Notebook tabs
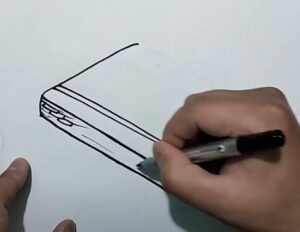
Attach small rectangular notebook tabs that protrude from the pages.
Step 4. Outline the pages
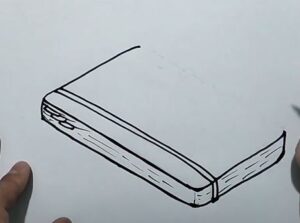
Now, sketch out the pages of the notebook by drawing straight or dashed lines.
Step 5. Draw sticky rings
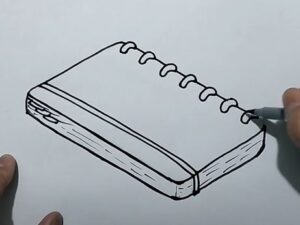
Then, draw cardboard circles evenly spaced along the edge of the notebook.
Step 6. Complete the notebook drawing

Let’s complete our notebook drawing by adding some color! First, use a yellow pen to color the notebook cover. Next, fill in the strap with a red pencil. Now, color the pages with a white pencil. Then, color the notebook tabs in pastel shades of pink, blue, and green. Finally, color the binder rings with a dark gray pencil.


No Responses