How to Draw a Stapler with this how-to video and step-by-step drawing instructions. Expect 6 easy steps to follow, beginners will enjoy designing their own stapler on paper. Also included is a printable version of this stapler drawing lesson.
Please see Stapler drawing tutorial in the video below
You can refer to Stapler simple step-by-step drawing guide below
Step 1. Shape the handle

Begin by drawing an elongated shape to form the handle of the stapler.
Step 2. Add the hammer

Add the stapler’s hammer by drawing a rectangle at the bottom of the handle.
Step 3. Attach the Pivot Structure

Draw a small rectangular box attached to the handle to form the shaft structure of the stapler.
Step 4. Draw the base

Now, create a long rectangle for the base of the stapler.
Step 5. Sketch the anvil plate

Then, draw two diagonal lines on the base to outline the anvil plate.
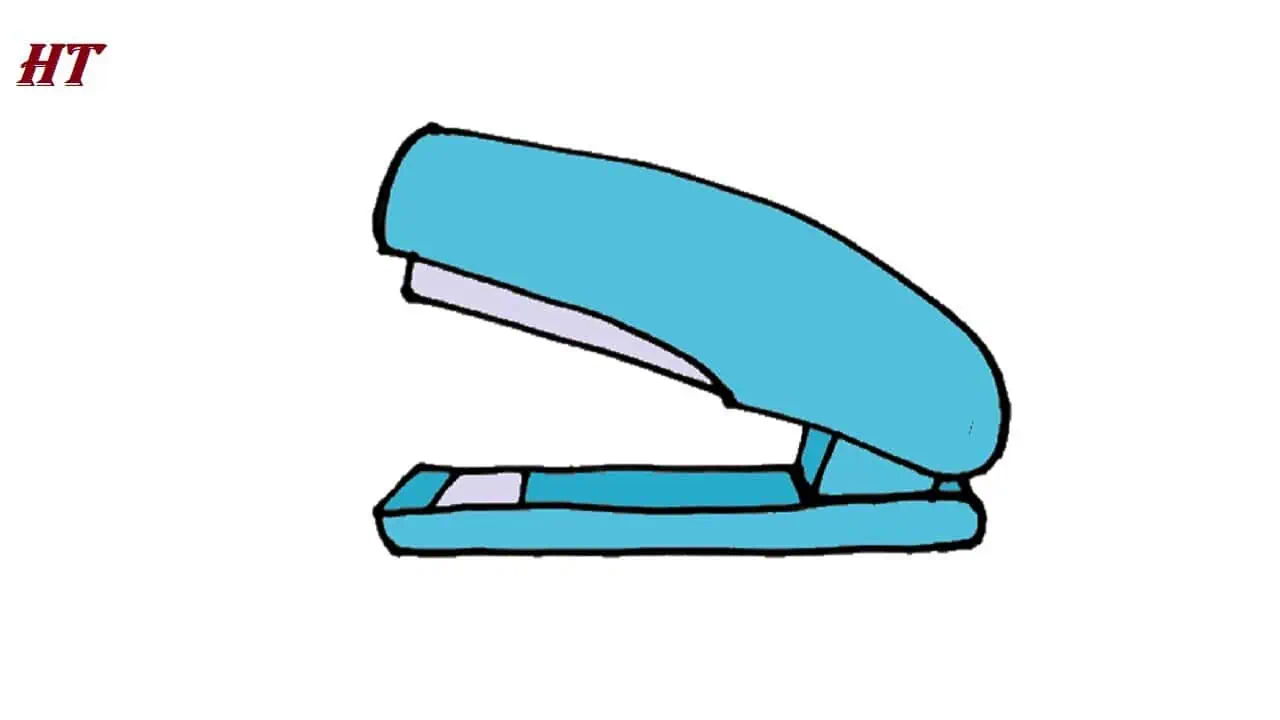
Step 6. Complete the Stapler drawing
Add some color to your stapler! Use a blue pencil to color the body of the stapler. Then shade the hammer plate and anvil with a gray pencil.