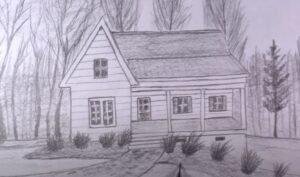
How to Draw a Farm House with this how-to video and step-by-step drawing instructions. Expect 9 easy steps to follow, children will enjoy making their own farm house on paper. Also included is a printable version of this farm house drawing lesson.

Please see Farm House drawing tutorial in the video below
You can refer to Farm House simple step-by-step drawing guide below
Step 1. Shape the roof
First, draw the trapezoidal outline of the roof. Then, add texture to the roof by drawing a series of evenly spaced lines.
Step 2. Add pillars
Add vertical columns attached to the lower part of the roof.
Step 3. Draw the railing
Start by drawing the horizontal handrail. Then attach the vertical railings.
Step 4. Form the base
Create the base rectangle of the farm house as shown.
Step 5. Sketch the walls
Sketch the rectangular walls of the house.
Step 6. Add Windows
Create square borders of windows. Then, draw a cross-shaped grid.
Step 7. Attach the door
First, form the rectangle of the door. Next, draw a small square window. Then add a round doorknob.
Step 8. Add exterior texture
Add siding texture to the wall by drawing horizontal lines.
Step 9. Complete the farm house drawing
Let’s color our drawing of a farm house! First, fill in the glass on the doors and windows with a light blue pencil. Next, color in the roof and doors as well as the window frames and grilles with a red pencil. Use a yellow pencil to color the doorknob. Now, shade the columns and railings with a brown pencil. Let’s paint the background of the house a darker brown. Then, paint the wall a light yellow color.


