How to Draw Crystals Easy with this how-to video and step-by-step drawing instructions. Easy drawing tutorial for beginners and kids.
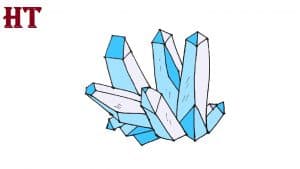
Please see the drawing tutorial in the video below
You can refer to the simple step-by-step drawing guide below
Step 1. Draw the first crystal
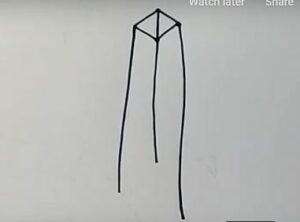
Start by drawing a cylinder. Use straight or slightly curved lines to create a pointed tip, these lines will form the tip of the crystal.
Step 2. Finish the first crystal
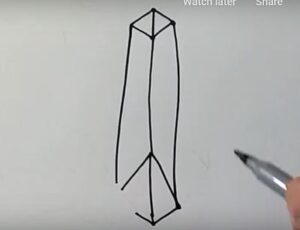
The base of the crystal adds a number of straight lines creating kinks that create crystal expansion for the base of the crystal.
Step 3. Sketch the second crystal
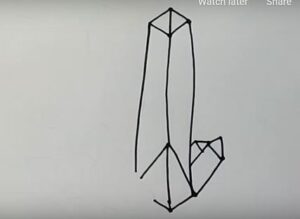
Again using connecting lines form the second crystal to the right of the first crystal. Note that this crystal is much smaller than the first crystal.
Step 4. Draw the third crystal
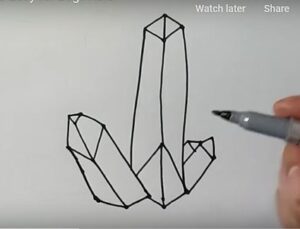
Draw a third crystal emerging from the left of the first crystal. Use a series of lines around the drawing.
Step 5. Draw the fourth crystal
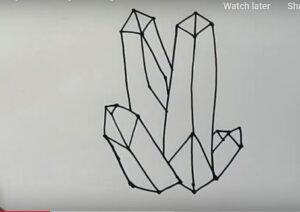
Draw another crystal the same size as the first with a slightly different shape. Note that this crystal emerges at an angle behind the crystals just drawn.
Step 6. Add other crystals
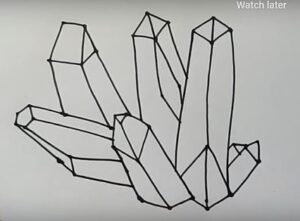
In the same way add other crystals with different angles and different sizes to form a crystal block.
Step 7. More details
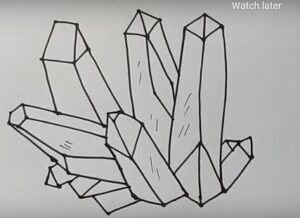
Next, use some thin strokes to draw on the crystals to create shine and reflect light of the crystals
Step 8. Coloring

The color of your crystal. Will they be like quartz, red like rubies or green like kryptonite? The choice is yours. Note that the colors of the crystal faces have different light and dark colors due to the angle of the rays


