How to Draw An Oreo with this how-to video and step-by-step drawing instructions. With 8 easy steps to follow, children will enjoy designing their own oreo on paper.
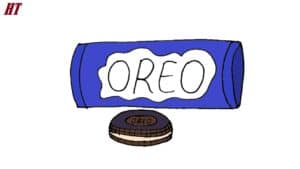
Please see the drawing tutorial in the video below
You can refer to the simple step-by-step drawing guide below
Step 1. Outline the Crust
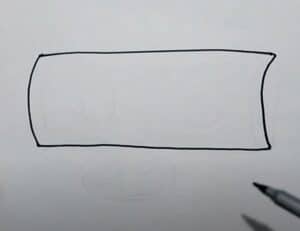
Outline the Oreo crust by drawing a rectangle.
Step 2. Add the Lining and Opening
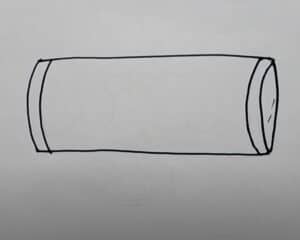
Add the lining to the crust by drawing a line at both ends. Next, draw the opening by creating a curve around the crust as shown.
Step 3. Design the Packaging
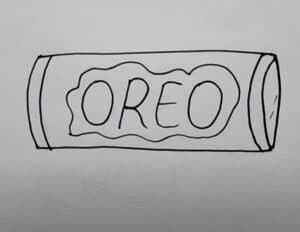
Let’s design the Oreo packaging. First, write the word “OREO” and then draw a zigzag outline around the word.
Step 4. Outline the Oreo
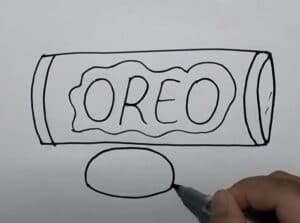
Now, outline the Oreo outside the crust by drawing a rounded rectangle with a curved top.
Step 5. Shape the Oreo
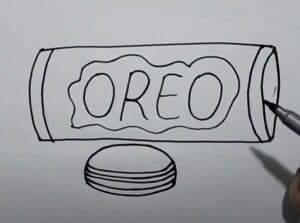
Draw three horizontal curves to create the Oreo shape.
Step 6. Create the Pattern
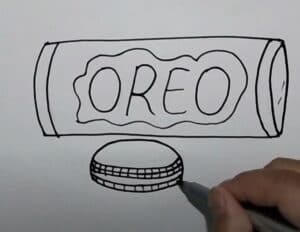
Now, create a rough pattern on the edge of the Oreo cookie by drawing evenly spaced lines as shown.
Step 7. Draw Oreo Branding
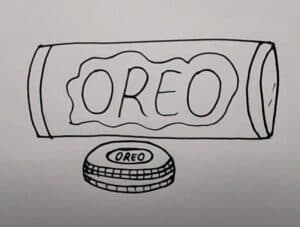
Add your branding to the Oreo cookie by writing “OREO” and drawing an oval around it.
Step 8. Finish the Oreo Drawing

To finish the Oreo drawing, color the packaging with a blue crayon. Now, use a white crayon to color the Oreo background. Then, color the opening of the wrapper with a purple crayon. Next, color the Oreo cookie with a dark brown crayon and the cream filling with a light brown crayon. Add a little orange to the Oreo cookie for a pop of color.


5