How to Draw Abacus (Abaci or abacuses) with this how to video and step by step drawing instructions. Expect 6 easy steps to follow, brginners will enjoy making their own abacus on paper. Also included is a downloadable version of this abacus drawing tutorial.
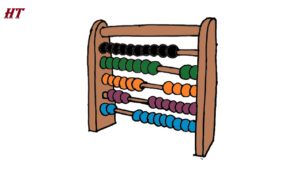
Please see the drawing tutorial in the video below
You can refer to the simple step-by-step drawing guide below
Step 1: Draw the frame
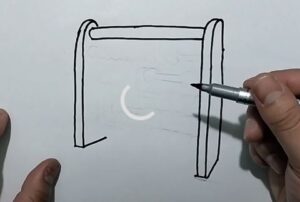
Start by drawing a horizontal line. This will be the top part of the abacus frame. Then, draw a parallel line below it, leaving some space between them. Connect these lines with regular vertical lines to form the abacus frame.
Step 2: Detail the beads
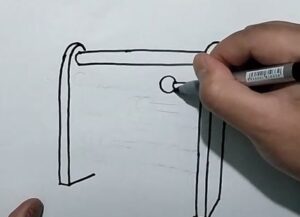
Within each circle or oval, draw a smaller circle or oval to represent the hole in the bead. This detail adds realism to your drawing.
Step 3: Add seeds
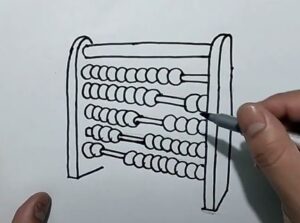
On each line (bar), draw a circle or oval to represent the particles. You can start from the top and work your way up. For a standard abacus, there are usually two beads above the horizontal bar and five beads below on each bar.
Step 4: Final steps
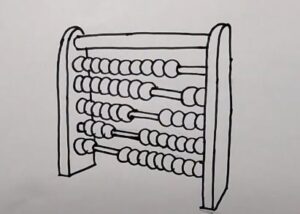
Add any additional details you want, such as shading to give the abacus a three-dimensional look or coloring the beads for a more attractive drawing.
Step 5: Delete the guide line
Once you’re satisfied with the drawing, erase any unnecessary guides you used when sketching.
Step 6: Color

Color the particles and worksheet frames your favorite color.

