How to draw Portugal (map) with this how-to video and step by step drawing instructions. Easy map drawing tutorial for beginners and all.
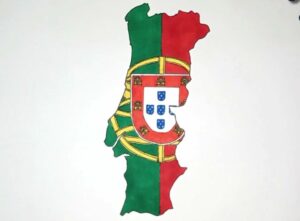
Please see Portugal drawing tutorial in the video below
You can refer to Portugal simple step by step drawing guide below
Sketch the basic shape (if you are confident you can skip this step)
Start by drawing a rectangle to represent the overall shape of Portugal. This will be the outline of your map. Use a ruler to make sure the lines are straight and the corners are perpendicular.
Step 1: Add the east border
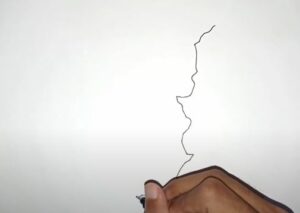
Draw a line along the right edge of the rectangle to represent Portugal’s eastern border. This line will connect the northern and southern borders.
Step 2: Sketch the southern border
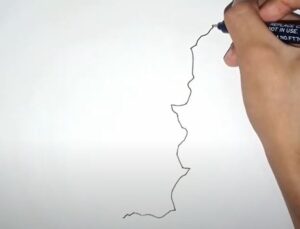
Draw a curved line along the bottom of the rectangle to represent Portugal’s southern border. This line will curve slightly outward to include the southernmost part of the country.
Step 3: Add the Northern border
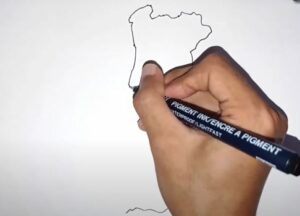
Draw a curved line across the top of the rectangle to represent Portugal’s northern border. The line will curve slightly inward to include the northernmost part of the country.
Step 4: Sketch the West Coast
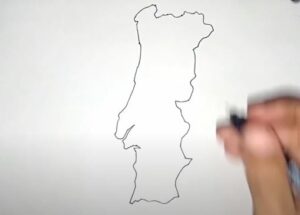
Draw a wavy line along the left side of the rectangle to represent Portugal’s west coast. Portugal has a jagged coastline with many indentations and peninsulas, so don’t worry about making it perfectly smooth.
Step 5: Add details
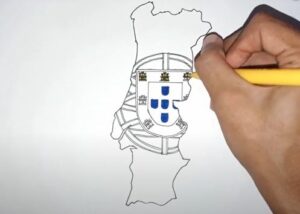
Use your pencil to add any major cities, rivers, or other geographical features you want to include on your map. You can use the map of Portugal for reference, or you can get creative and add your own details. As the video instructs us, draw the characteristic image of the Portuguese flag on the map.
Step 6: Finalize your map

Color your map. If you have cities and provinces, you should choose a different color for each region. If you draw a flag on the map, color it as follows: Green, red, yellow, white and blue as shown.




No Responses