How to Draw a Gnome Easy with this how-to video and step-by-step drawing instructions. Easy drawing tutorial for beginners and kids.
Hi everyone, welcome to the current GNOME drawing (How to Draw Gnome). Incidentally, all of you must have seen the title and thumbnail for this post. I have clarified in this article how to drag GNOME into the framework step by step. You can make this drawing in a reasonable way in case this article starts to finish reading. To make this drawing you will need some material, which will be recommended for you all in this article. In the event that you need to continue to use such compelling posts on our blog in a similar manner, then you continue to support our blog and provide articles provided at the developer level. reliable.
Please see the drawing tutorial in the video below
You can refer to the simple step-by-step drawing guide below
Step 1
So guys, First of all you have to draw with a HB pencil. To draw with the HB pencil, you must first draw Gnome’s body shape. Then draw Gnome’s Hat. To draw the hat, first let’s draw the shape of the hat. Then draw Gnome’s face. To draw gnome face, you have to draw the face and beard shape together. I hope you understand at this point.
Step 2
Now you have to draw Eyes, Nose and Beard. You must properly draw this part of Gnome. I hope you enjoyed this Gnome drawing very much.
Step 3
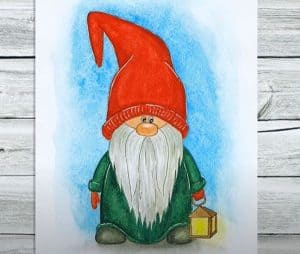
So this is the final step of this drawing, In this step you have to draw Gnome’s Hand and Foot. To draw the arms and legs, you must first draw the shapes of both. Then draw Gnome’s Shoes. Finally you have to color in this drawing. Colors are painted very carefully in this drawing.


