How to draw South Africa (map) with this how-to video and step by step drawing instructions. Easy map drawing tutorial for beginners and all.
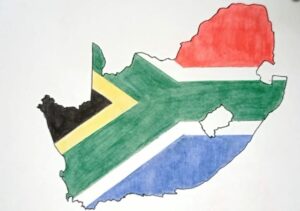
Please see the drawing tutorial in the video below
You can refer to the simple step by step drawing guide below
Step 1. Gather your documents:
You will need a piece of paper, pencil, eraser, ruler, and colored pencils or markers if you want to add color to your map.
Step 2. Start sketching the map:
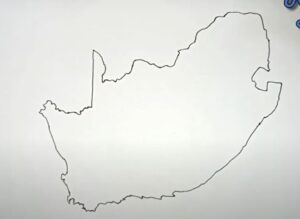
Use a pencil and ruler to lightly draw the outline of South Africa on the paper. Start by drawing a rough shape that resembles an inverted trapezoid. South Africa’s coastline is quite irregular, so pay attention to its curves and indentations. Make sure to leave enough space for Lesotho and Eswatini within South Africa’s borders.
Step 3. Add inner border:
South Africa is divided into nine provinces. Use a ruler to draw the inside outline of these provinces within the outline you drew. You can refer to the map of South Africa to ensure the accuracy of the border. The provinces are Western Cape, Eastern Cape, Northern Cape, Free State, Gauteng, North West, Mpumalanga, Limpopo and KwaZulu-Natal. Or you can draw a flag symbol on the map for easy identification.
Step 4. In case of drawing a flag image on the map:
1. Draw a horizontal line above the map
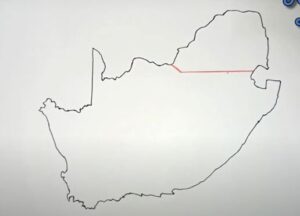
2. In the middle, draw a horizontal Y shape, the typical shape of the South African flag.
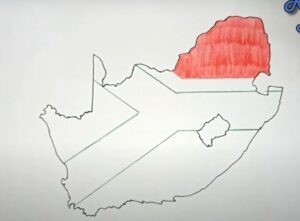
3. Next, draw a folded line for the bottom part of the flag.
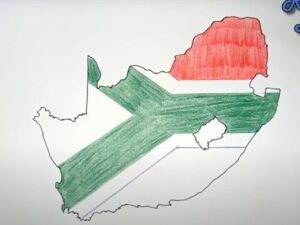
Step 5. Color the map:

If you draw the provinces of South Africa, color each province a different color to make it easier to distinguish. If you draw a flag on a map of South Africa, color it in the following colors: red, yellow, black, white, green and blue.



No Responses