How to draw Gold coins with this how-to video and step-by-step drawing instructions. Easy drawing tutorials for beginners and all

Please see the drawing tutorial in the video below
Gold coins Drawing step by step
Step 1. Sketch the first gold coin

First, we sketch the first gold coin using an oval to represent the slanted view of the coin. Add a curve below and connect it to the oval above to create the thickness of the coin, as shown in the illustration.
Step 2. Add details to the gold coin
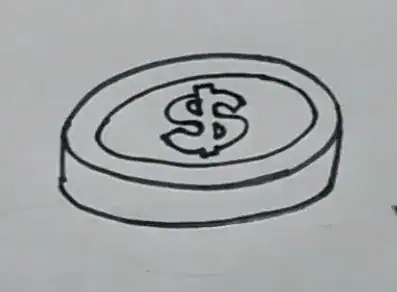
Next, we draw a smaller oval inside the first one to create more details of the gold coin, and inside that is the $ symbol (representing money).
Step 3. Add the gold coin
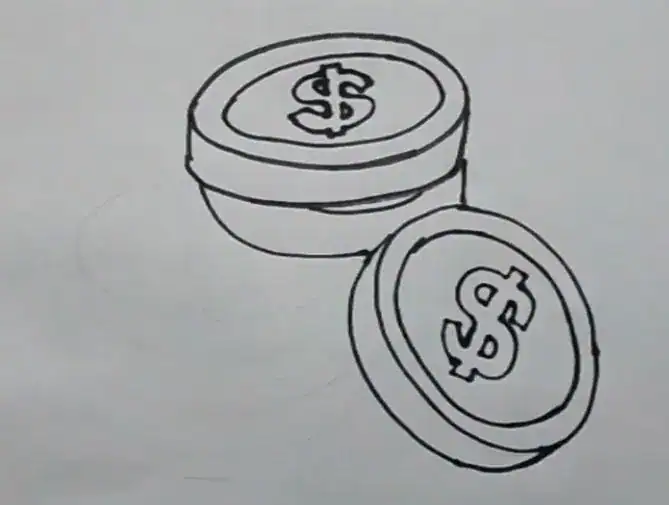
Next, we draw another coin similar to the first one, but with a different angle, as shown in the illustration. The steps for drawing details are the same as steps 1 and 2.
We draw the hidden coin underneath the first one. We only see the side of the coin; it’s easy to draw, isn’t it?
Step 4. Add another coin
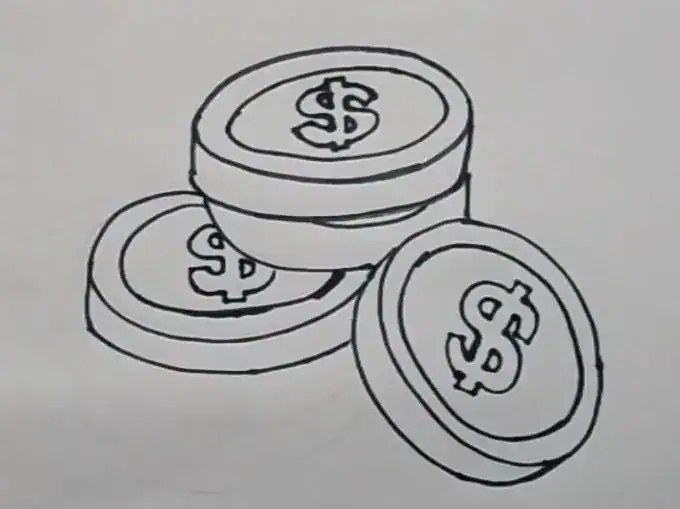
Next, draw the next coin below, however, only half of this coin is obscured; the details of the coin are still clearly visible.
Step 5. Add more coins
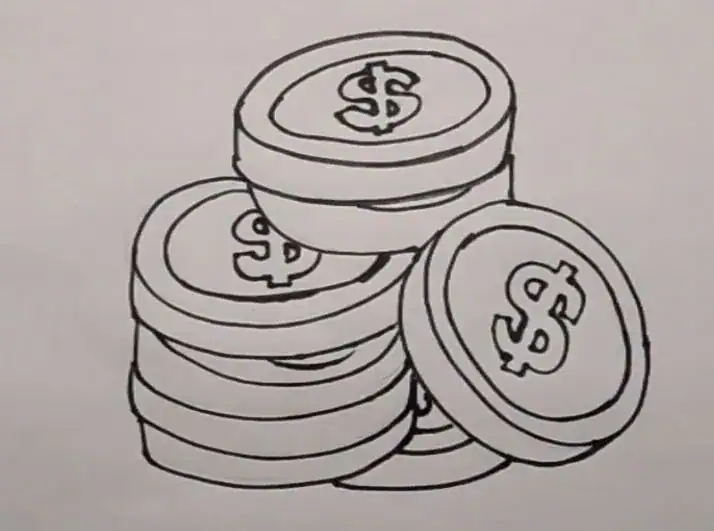
We continue to draw three more coins. This helps the gold coins stand out and shows their value…
Step 6. Color
Finally, we color the gold coins with a bright yellow color. Wouldn’t it be great to have these coins!