How to Draw Flour with this how-to video and step by step drawing instructions. With 6 easy steps to follow, beginners will enjoy designing their own flour on paper. Also included is a printable version of this flour drawing tutorial.
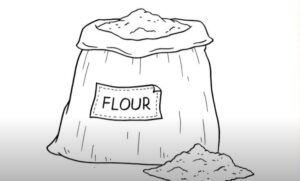
Please see the drawing tutorial in the video below
You can refer to the simple step by step drawing guide below
Step 1. Draw a flour bag
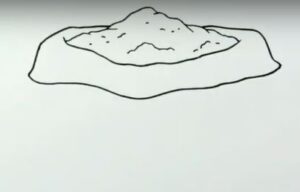
Follow the illustration here to start drawing. It is a vertical rectangle with some folds that looks like a sack.
Step 2. Add folds
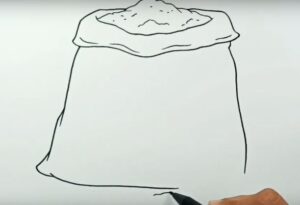
Then, add a fold at the top of the bag by drawing a long, narrow U shape.
Step 3. Paint the dough
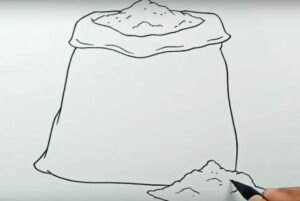
Then, scoop the piled dough out of the bag.
Step 4. Complete the opening of the bag
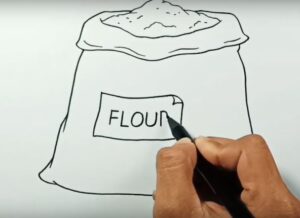
Draw the back of the flour bag so it looks open.
Step 5. Add labels

Finally, add the “flour” label to the middle of the bag.
Step 6. Complete your drawing
Get coloring materials and color your drawings.


