How to draw Anime Boy easy with this how-to video and step-by-step drawing instructions. Anime drawing tutorial for beginners and everyone.
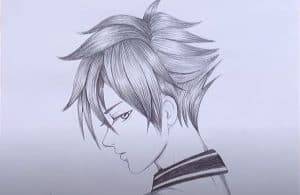
Please see the drawing tutorial in the video below
Anime Boy Drawing with pencil step by step
Step 1. Create a frame
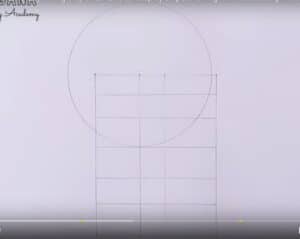
To make the drawing accurate, we create a frame to draw the details in balance. Here we draw the anime boy with a side view of the face.
Step 2. Draw the anime boy’s face
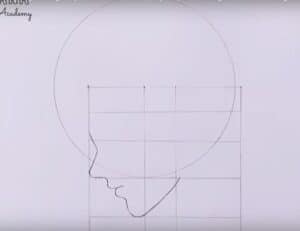
Because it is a side view, we first draw the anime face from the forehead down to the nose and mouth and finally his chin as shown in the illustration.
Step 3. Draw the eyes
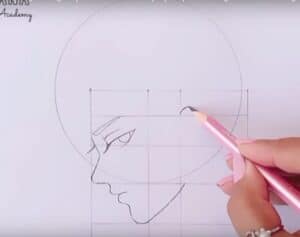
The bigger and wider you draw the eyes, the younger your character will look. In this case, the character is a young man (or nearsighted), so the eyes will be smaller than a boy’s eyes.
Draw the eyes so that the top of the eyes touch the middle of the face.
Note that the eyes are only positioned this way in their natural state, if they are opened wider, the eyes can go over this line and if they are closed, the eyes will usually be below the line. For now, you just need to draw the basic outline of the eyes. The details will be added in the next step.
Draw the eyebrows slightly higher than the eyes. Male eyebrows in anime and manga are often drawn thicker than female eyebrows, especially on older characters. However, this also depends on the style.
Step 4. Draw the Ears
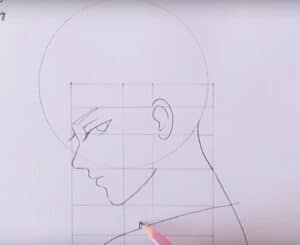
To determine where the ears should be, draw a vertical line through the middle of the head and another line between the ear and the chin. Draw the ears with the top and bottom between the two lines.
You can see the inner details of the ears above, but you may want to save these drawings for later when you’ve finished the rest of the facial details.
Sketch his neck and the shoulders of his shirt next.
Step 5. Draw the Hair
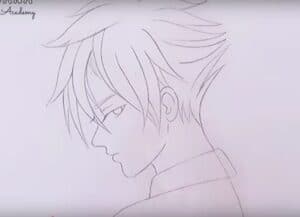
Draw the hair on top of the head. The reason you want to draw this way instead of just drawing the hair right away is because being able to see what the head looks like will help you determine the facial features (as you did in the previous steps). It will also help you position the hair correctly as you can see exactly how it sits on top.
Step 6. Finishing the anime boy

Finally, use a pencil to darken and shade the details of the drawing, this step requires meticulousness to get the perfect work.
You can see more anime boy drawings:
.
