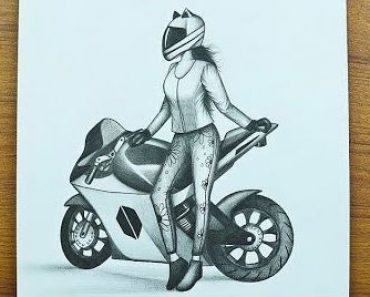
How to Draw a Motorcycle easy with this how-to video and step-by-step drawing instructions. Easy drawing tutorial for beginners and for all.
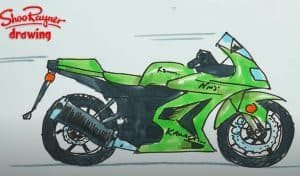
Please see the drawing tutorial in the video below
You can refer to the simple step-by-step drawing guide below
Step 1
So let’s start with the main contours of the carcass. Take a pencil and use very light, almost unnoticeable lines to outline the angular body of our motorsport.
Step 2
Sketch the handlebars, the bottom of the body, and the wheels. In this step, we also use very light lines to make them easier to erase later.
Step 3
Starting with this step we will draw the details of the motorcycle, so let’s use clear and dark lines. Carefully draw the handlebars, front panel and forks.
Step 4
Continue to use bold and clear lines to draw the saddle and side panels on the motorcycle body. Please note that the details in this area vary on different motorcycle models.
Step 5
We go a little lower and draw the details in the lower part of the body of the motorcycle. Draw the engine slider, exhaust, and side panels as shown in our example.
Step 6
Here we need to be very careful, because we need to draw the wheels, and they should be as round as possible. Also draw the rim, front fender and brake disc.
Step 7
And we are in the last step of the lesson on how to draw a motorcycle. Use the classic stroke to add shadows to the least-lit areas of our motorcycle drawing.
It’s just the first drawing tutorial in a series of motorcycle drawing lessons. In the following lessons we will draw many different types of motorcycles. Write the drawing lessons you want to see on our website and share our lessons with your friends.
