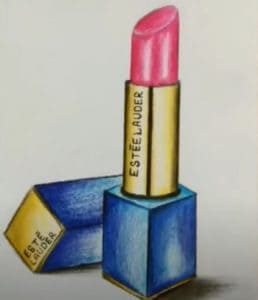
How To Draw a Lipstick easy with this how-to video and step-by-step drawing instructions. Easy drawing tutorial for beginners and kids.
Please see the drawing tutorial in the video below
You can refer to the simple step-by-step drawing guide below
Step 1
Start by drawing two long, curved, parallel lines on a diagonal diagonal. Connect them at the bottom with a straight line. This forms the base of the tube, box or lipstick compartment.
Step 2
Draw a “C” shaped line to connect the lines at the top. This forms the opening of the tube.
Step 3
Draw a slightly smaller “C” shaped line in the first line. This outlines the tube opening rim.
Step 4
Draw two parallel lines protruding from the pipe. This will form the top or inner part of the tube, the lower part being twisted to suck the lipstick in or out.
Step 5
Draw a “C” shaped line around the end of the tube.
Step 6
Draw another “C” shaped line in the previous one, outlining the pipe’s outline.
Step 7
Extend a long curve from one side of the tube. Duplicate it back to itself, noting how the curve has been shifted to the side. This will become the adhesive of the lipstick.
Step 8
Draw a “C” shaped line near the top of the lipstick. This outlines the flat surface applied to the lips.
Step 9
Add dimensions to the drawing. Draw a curve down one side of the lipstick and straight down the wall of the tube.
Step 10
Color your cartoon lipstick. Pink, red, purple, tanned – what is your perfect shade?
