How to Draw a Helicopter easy with this how-to video and step-by-step drawing instructions. Cartoon drawing tutorial for beginners and kids.
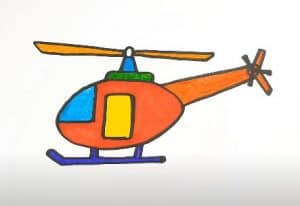
Please see the drawing tutorial in the video below
You can refer to the simple step-by-step drawing guide below
Step 1. Sketch the Main Body of the Helicopter
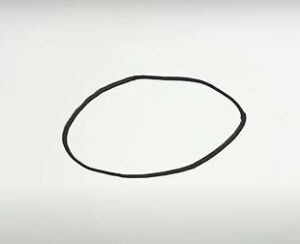
We will start with the main body of the helicopter in this first step of the tutorial on how to draw a helicopter.
To do this, you can draw a rounded oval to form the outline of the helicopter’s body.
Step 2. Tail and Rotor Drive Shaft
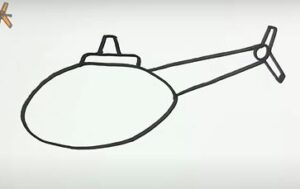
Now, we will add the tail to your helicopter. To do this, you can use a ruler to draw two lines from the back of the helicopter.
They should be angled in such a way that they get closer together as they go further away. You can then use some more vertical lines to form the end of the tail.
Before moving on, you can add a rectangle to the top of the helicopter. You can then add a small rounded part to the top of it.
This will be the part of the helicopter called the drive shaft and the rotors will be drawn into it soon.
Step 3. Draw the landing skis.
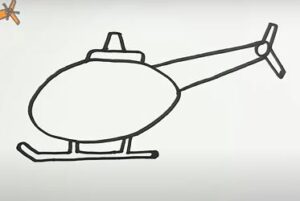
Below the helicopter, add vertical and horizontal lines, as well as curves.
Step 4. Draw the helicopter blades.
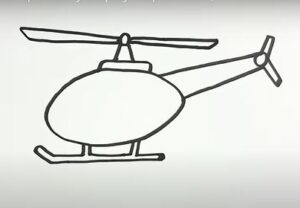
From the previously drawn detail, draw long straight lines on both sides and connect their ends.
Step 5. Draw the windows and main door of the helicopter.
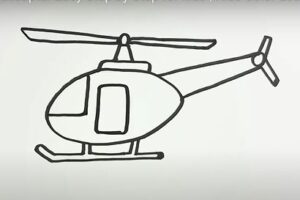
Draw a perpendicular line at the front of the helicopter to represent the window for the helicopter pilot. In the middle of the main part of the helicopter, draw a rectangle for the main door of the helicopter.
Step 6. Color

Color your helicopter, you can color it any color you like. Note that the windows are usually colored white and blue.
You can see more drawings:
