How to Draw an Airplane easy with this how-to video and step-by-step drawing instructions. Easy drawing tutorial for beginners and everyone.
Please see the drawing tutorial in the video below
You can refer to the simple step-by-step drawing guide below
Step 1
Start with two circles. One is oval and the other is a small circle.
Step 2
Now draw two lines on the lower plane as the forward projection, it will show the wingspan of the plane. At the top, you can start shaping the fuselage of the plane.
Step 3
Add the end and tailpiece to the top plane and draw the engine propeller tubes on the bottom front view plane.
Step 4
All you do here is add some windows to the top plane.
Step 5
Now draw more detail for the tail and wings of the top plane. On the bottom plane, draw more detail for the propellers of the engine.
Step 6
More line art details are added to the passenger plane on top. Don’t forget the wheels on both models.
Step 7
In this step, all we are doing is adding more details. The best thing to do is look at the picture above and draw what are the red lines.
Step 8
More details are added to the windows.
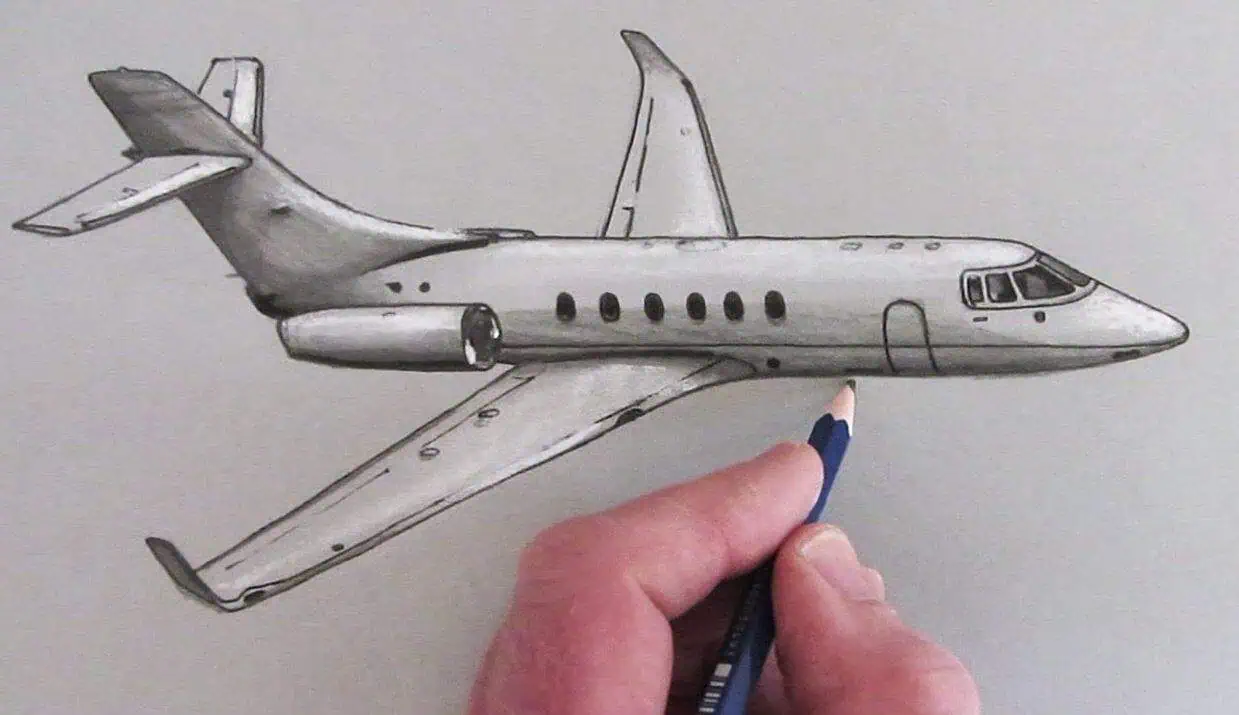
Step 9
And there you have it! Now you are flying in style. Color your image, but clean up your sketch or drawing first.