How to draw a Sloth easy with this how-to video and step-by-step drawing instructions. How to draw animals for beginners and kids.
Please see the drawing tutorial in the video below
You can refer to the simple step-by-step drawing guide below
Step 1
Start by drawing a circle. This will form the sloth’s head.
Step 2
Use a long, curved line to surround an irregular circular shape. Extend the road from the start and double it back to itself. This will form the sloth’s body.
Step 3
Draw the arm of the sloth. Towards the upper arm, extend a “C” shaped line from the body upwards. Then, use a series of short, curved, overlapping lines to draw the underside of the arm.
Step 4
Draw the hind legs in a similar fashion with the arms. Use a “C” shaped curve, extending upwards, to form the upper section of the leg. Then, draw the underside of the legs using short, overlapping lines. This gives the legs a hairy appearance.
Step 5
Erase guide lines from arms and legs.
Step 6
Draw a branch for the sloth to cling to. Create the branch using two parallel curves below the leg, between the arm and the leg, and above the arm. Use a “V” shaped line to form a branch.
Step 7
Draw the far arm of the sloth. Between the trunk and the tree, we have a curve and a series of curves overlapping the same. Then, use two curves that meet at one point to form the hand to grab the branch. Delete instruction lines if necessary. Draw a curve on the top of the hand and use the additional curves to differentiate the fingers.
Step 8
Wrap a circle inside the head to indicate the face. Then, shade the two curves to form the eyes.
Step 9
Draw a curve, almost like a “C” to connect the eyes, forming a muzzle. Fill a rounded triangle in the muzzle to represent the nose.
Step 10
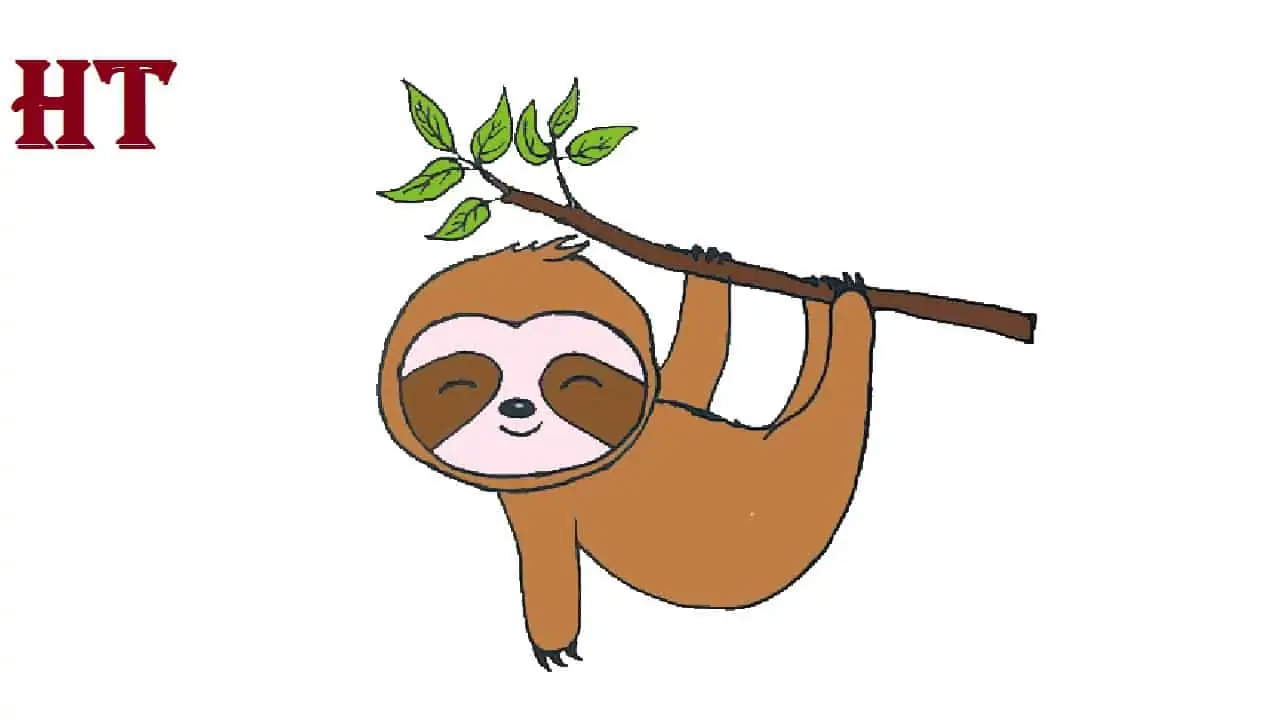
Color your sloth. Their coat is usually tanned or gray in color, but they can be greenish due to algae growing on their feathers.


